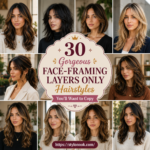
The secret to an instant makeover doesn’t always require a dramatic change in length or a bold new color. Sometimes, the most transformative magic happens right around the perimeter of your face. Face-framing layers are the ultimate “contour” for hair; they act as a visual guide that can slim the jawline, highlight the cheekbones, and soften the forehead. Unlike full-body layers that can thin out your hair’s density, “face-framing layers only” focus specifically on the front sections, maintaining the weight of your hair in the back while providing a fresh, sculpted look.
Whether you have pin-straight strands or voluminous curls, strategically placed layers can create the illusion of a more elongated, slender face. Here are 25 face-framing layer ideas designed to slim your silhouette and elevate your style.
1. Bottleneck Bangs

Bottleneck bangs are the cooler, more versatile cousin of the traditional fringe. By starting narrow at the center of the forehead and widening as they reach the cheekbones, they create a “bottleneck” shape. This specific geometry draws the eye inward and then outward at the narrowest part of the face, effectively slimming the temple area and highlighting the eyes.
2. Curtain Fringe

Curtain bangs are a classic for a reason. By parting down the middle and sweeping the hair to either side, you create a vertical line that elongates the face. The “curtain” effect hides the outer corners of the forehead and the upper cheekbones, which narrows the overall appearance of the face.
3. Butterfly Layers

Butterfly layers focus on short, wispy pieces at the front that “wing” out. When these layers are cut to hit just below the cheekbones, they create an upward lifting effect. This lift draws attention away from the jawline, making the face appear more V-shaped and slender.
4. Chin-Length Bits
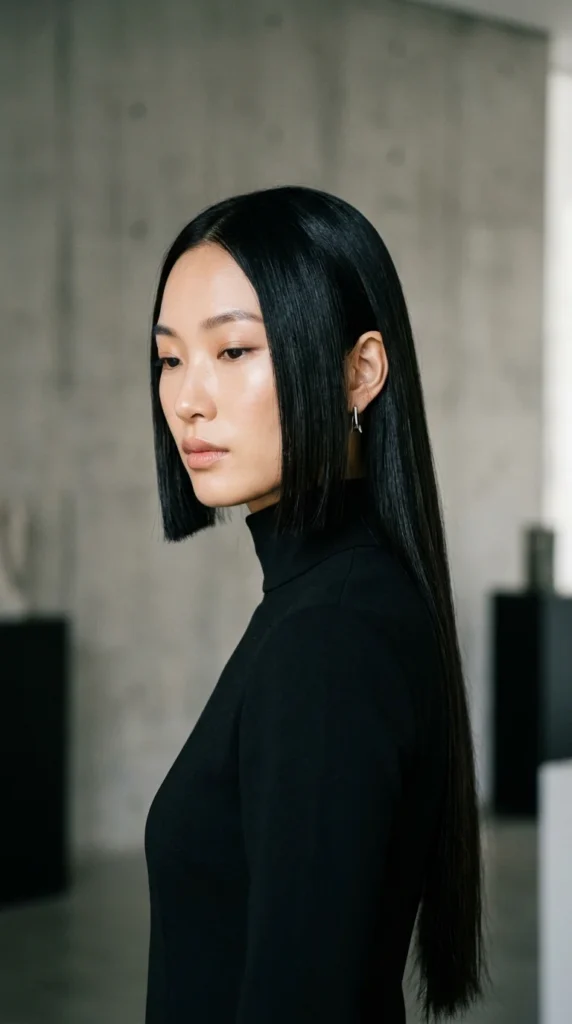
If you want a modern, “cool girl” vibe, chin-length framing bits are the way to go. By cutting the front-most strands exactly at the jawline, you create a frame that “boxes in” the lower half of the face. This provides structure to softer face shapes and creates a defined, slimmed-down jaw.
5. Jawline Tapers
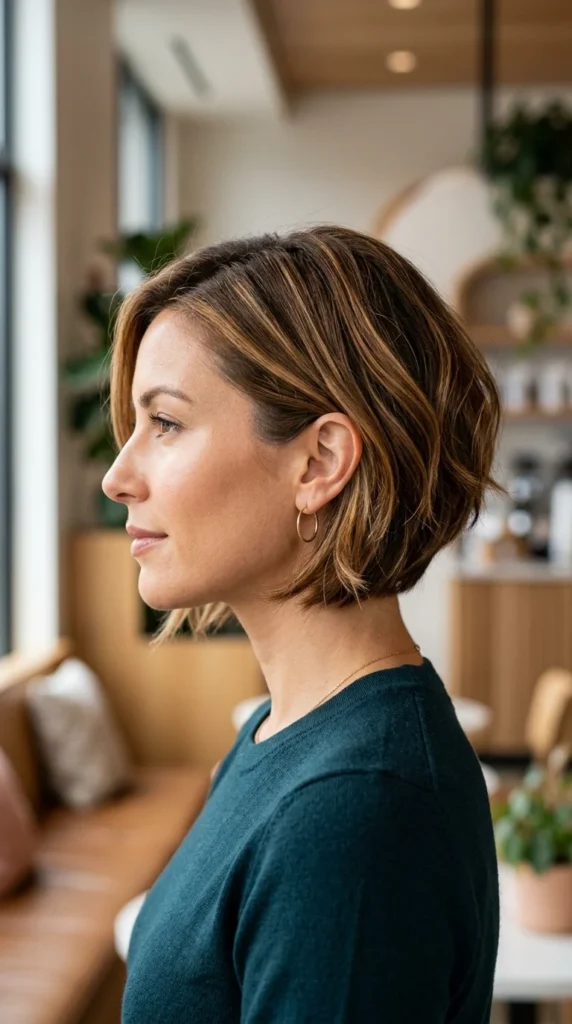
Jawline tapers are all about the angle. Instead of a blunt cut, the stylist uses a slide-cutting technique to create a diagonal line from the ear to the chin. This diagonal line is a visual trick that slims the neck and makes the face appear more angular and less round.
6. Ghost Layers
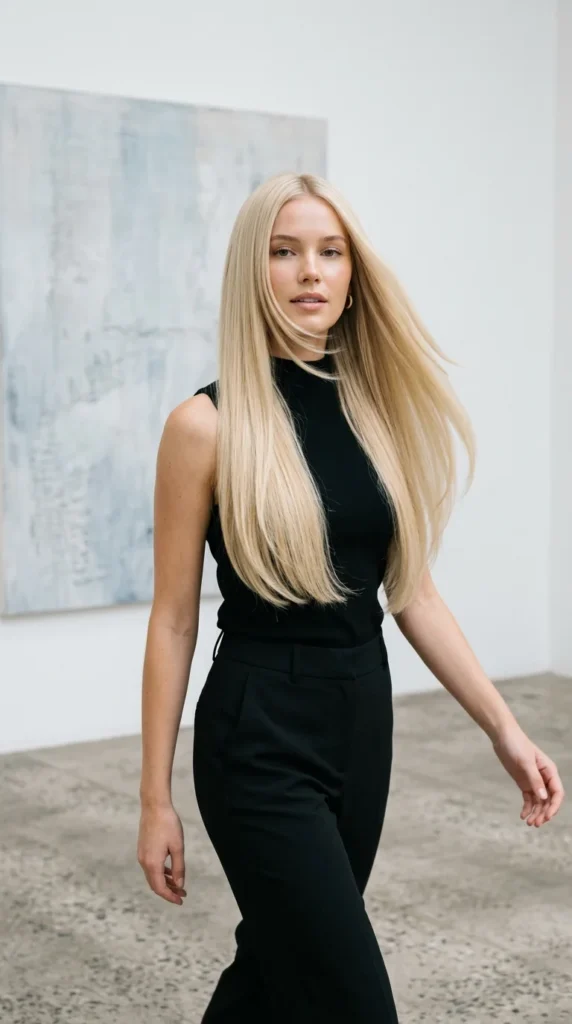
Ghost layers are “invisible” layers cut into the interior front sections. They provide movement without the choppy look of traditional layers. This is perfect for those who want a slimming effect without sacrificing the look of a solid, thick mane. The movement around the face breaks up the width of the head.
7. Feathered Ends
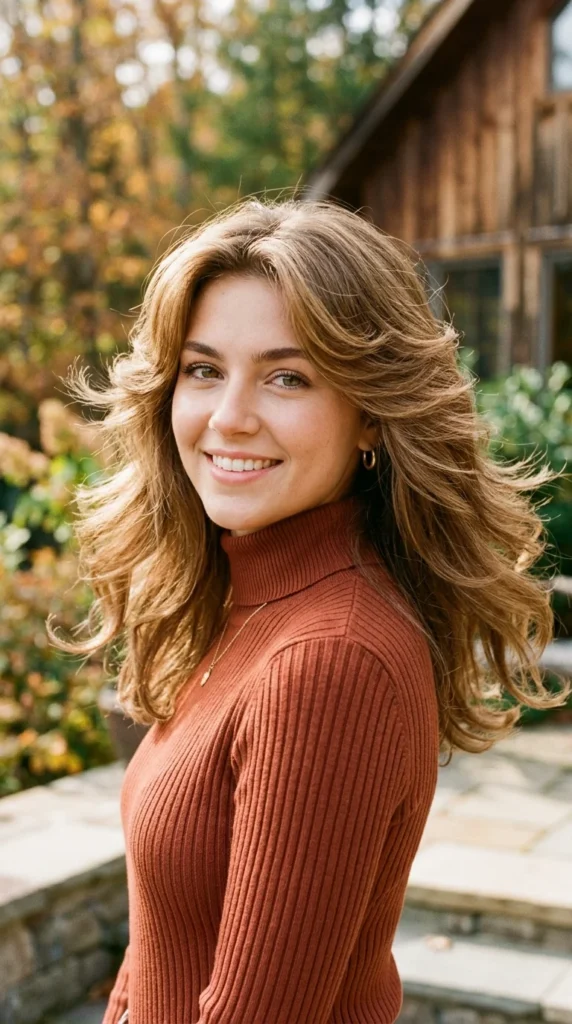
Feathering is a technique that removes bulk from the ends of the hair. When applied to face-framing pieces, it softens the transition between the hair and the skin. This softness prevents the hair from “crowding” the face, which can sometimes make a face look wider.
8. Wispy Tendrils
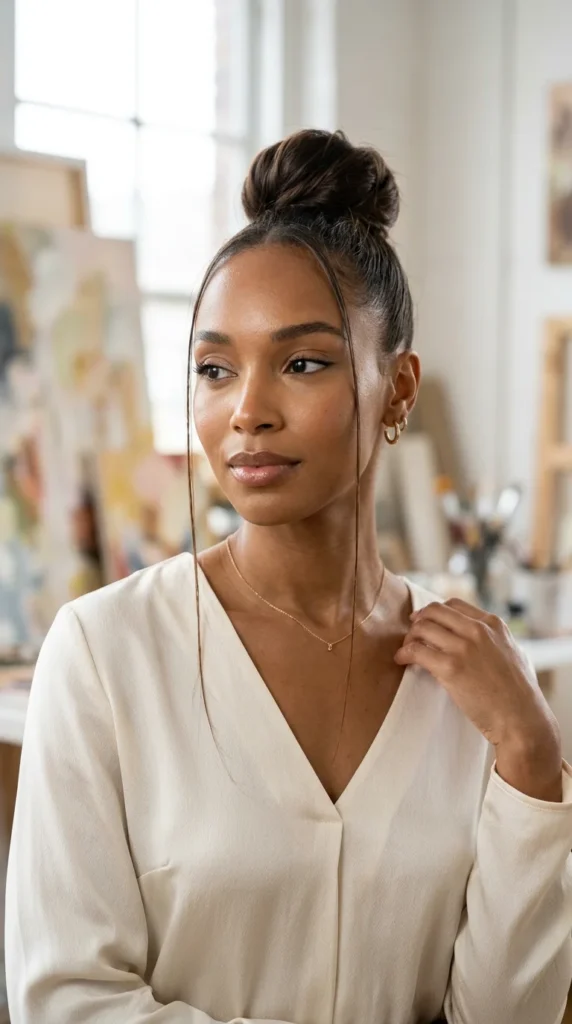
You don’t need a lot of hair to make a big impact. Wispy tendrils are incredibly slimming because they create two long, vertical lines on either side of the face. These lines act as a visual “border” that reduces the perceived width of the cheeks.
9. Internal Framing

Internal framing involves cutting layers underneath the top layer of hair at the front. This creates a “shadow” against the face, which naturally contours the jaw and cheeks. It’s a subtle way to achieve a slimmer look without a visible “step” in your haircut.
10. Diagonal Slices
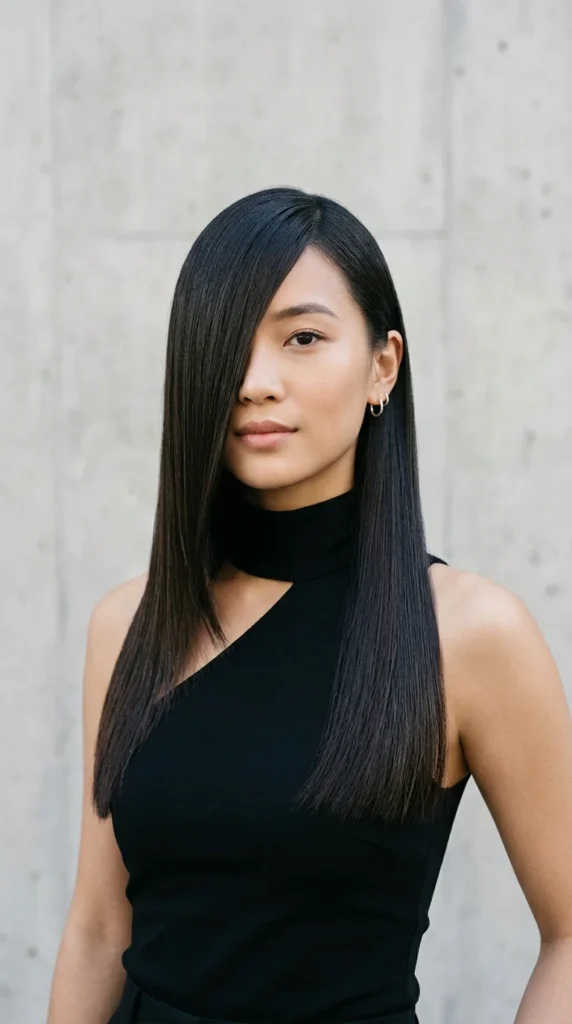
Diagonal slices are high-impact. By creating a sharp, slanted line from the mid-face down to the shoulders, you lead the eye in a downward motion. This verticality is the key to making a round or square face shape look significantly more elongated.
11. Long Inverted
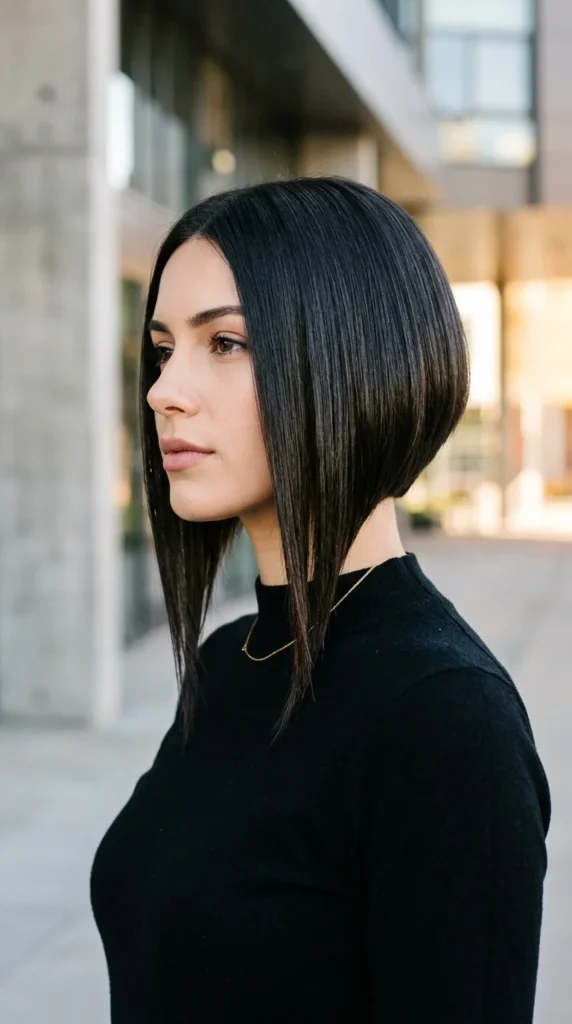
The long inverted cut is the ultimate slimming tool. By keeping the length in the front and the volume in the back, the hair naturally falls forward, “hugging” the face. This hugging effect covers the sides of the face, leaving only the central features visible.
12. Cheekbone Grazers
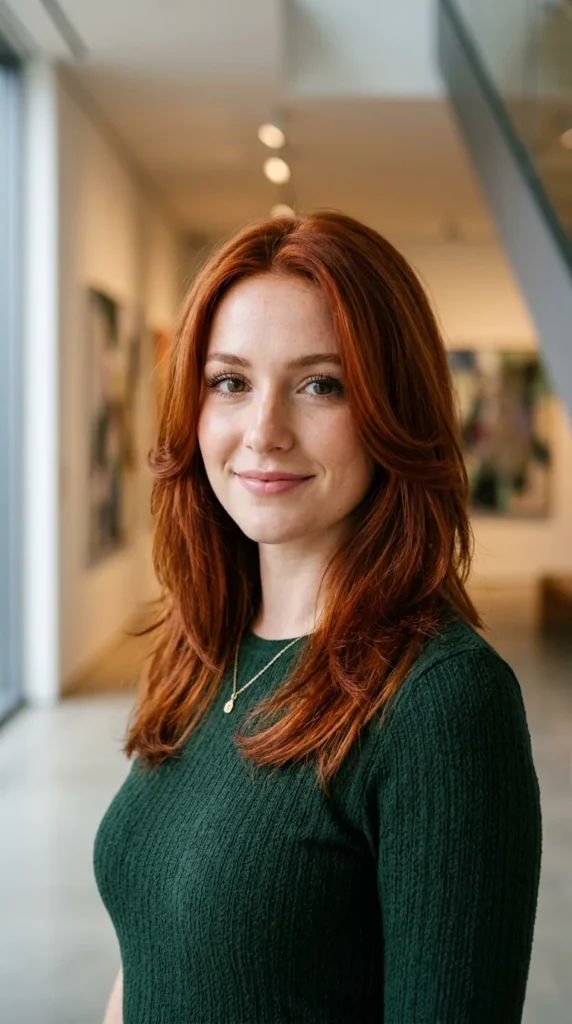
To highlight your bone structure, ask for layers that graze the cheekbones. By ending the hair right at the highest point of your cheeks, you create a horizontal line that emphasizes the “lift” in your face, making the lower half look narrower by comparison.
13. Shaggy Face-Frame

The shaggy face-frame uses texture to its advantage. The choppy, uneven lengths break up the “solid” look of the hair, preventing it from weighing down the face. The messy texture adds volume at the top and narrows down toward the chin, creating a flattering inverted triangle shape.
14. Tapered Lob
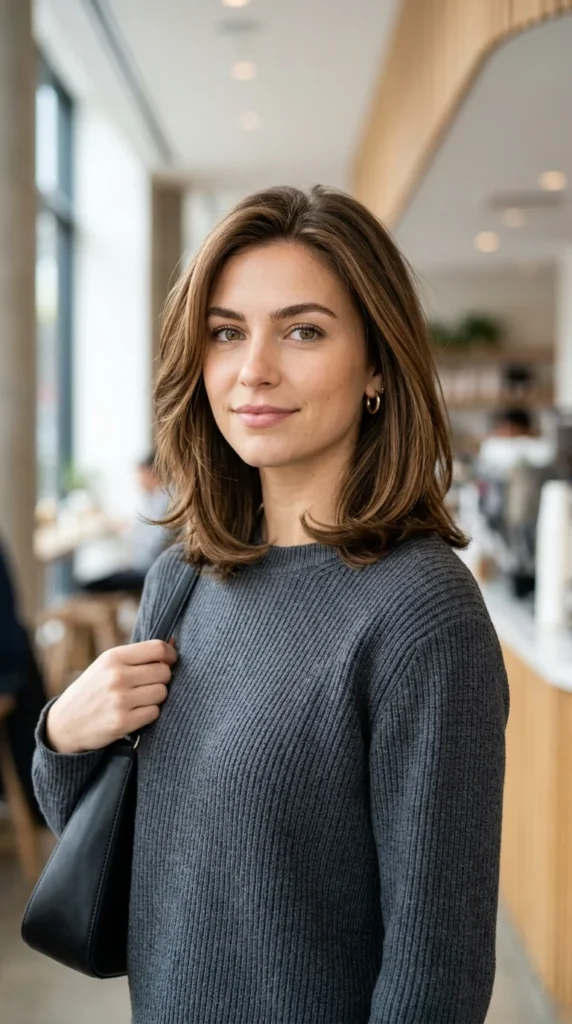
The tapered lob (long bob) is a sophisticated choice. The slight taper at the ends prevents the hair from looking “blocky” around the shoulders. This streamlined look keeps the focus on the center of the face, providing a slimming and lengthening effect.
15. C-Shape Curves
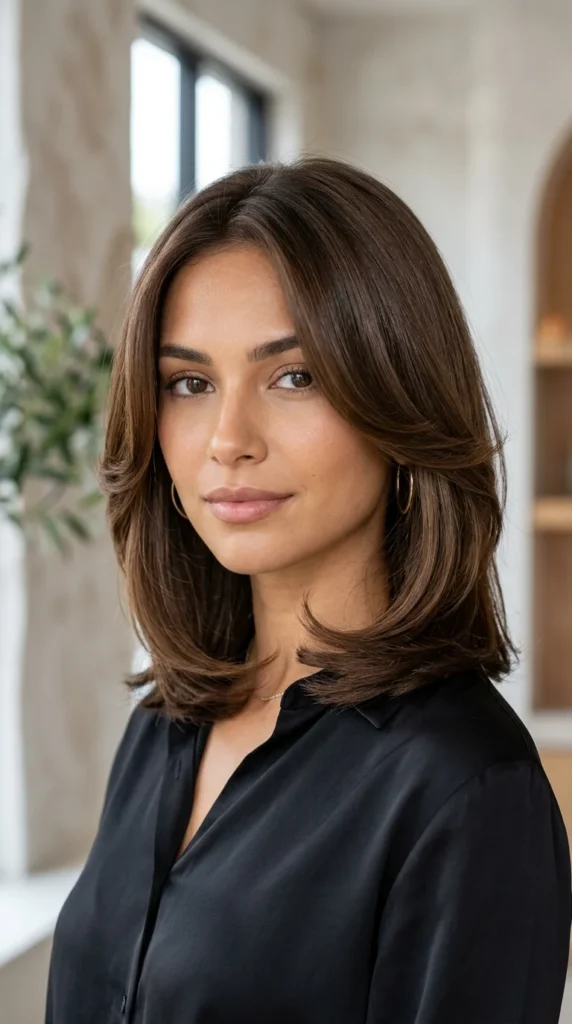
C-shape layers are cut and styled to follow the natural curve of the face. This “hugging” motion is incredibly effective for slimming, as it creates a literal frame that masks the outer edges of the face, making it appear smaller and more delicate.
16. Bardot Fringe

Inspired by Brigitte Bardot, this look features a thick fringe that is parted in the middle and gets progressively longer as it moves toward the ears. The heavy sides of the fringe cover the temples and the forehead’s width, which is a major win for face-slimming.
17. Micro-Framing
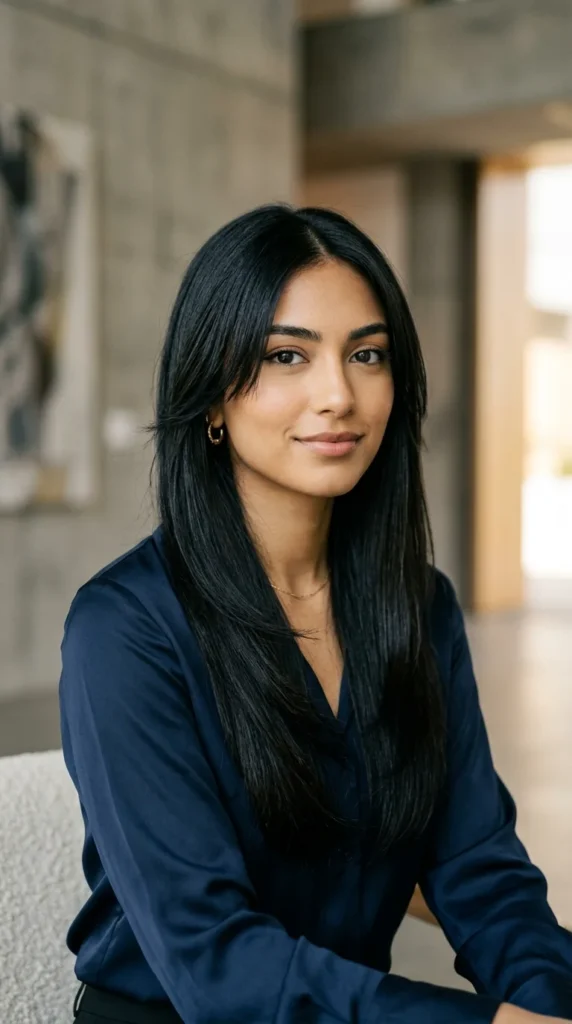
Micro-framing involves very short, subtle layers that start higher up on the face. These layers are so thin they almost look like flyaways, but they serve the purpose of softening the forehead and drawing the eye up toward the brow bone.
18. Sliced Edges
Sliced edges are achieved with a razor or very sharp shears to remove all bulk. This leaves a “paper-thin” edge around the face. Because there is no volume at the sides, the face is allowed to stand out without any added width from the hair.
19. Blunt Frame
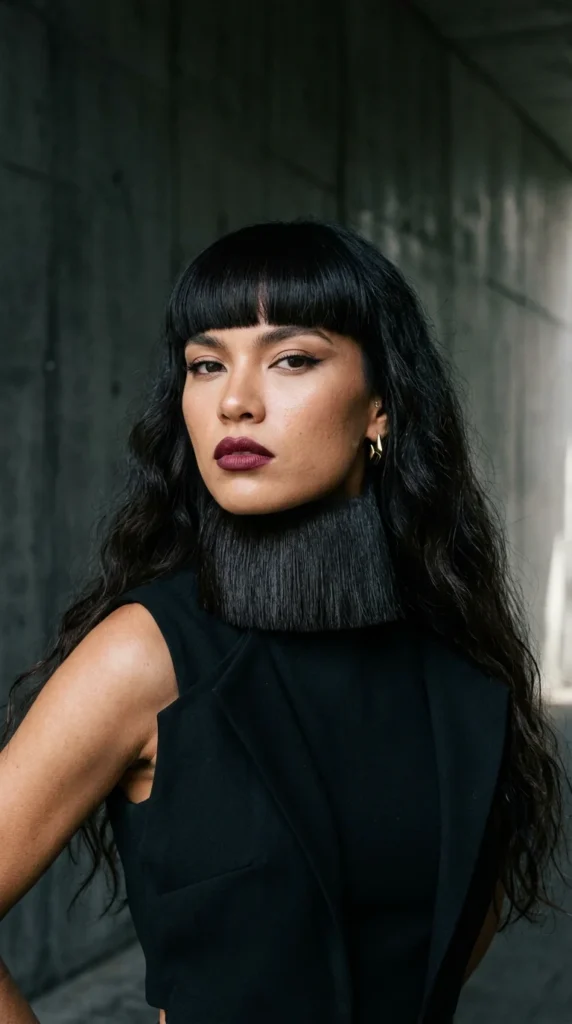
A blunt frame is for those who like a graphic look. By cutting a solid, blunt “step” into the front of the hair, you create a strong vertical boundary. This boundary slices through the width of the face, making it appear narrower and more structured.
20. Graduated Front

A graduated front is a more traditional approach to face-framing. The layers are evenly spaced and move smoothly from the shortest point to the longest. This creates a gentle, cascading effect that draws the eye down the length of the hair, elongating the neck and face.
21. Soft Shag

The soft shag is all about airiness. By keeping the layers light and wispy, you avoid “crowding” the face. This airiness allows the facial features to breathe while still providing enough coverage at the sides to create a slimming silhouette.
22. Point-Cut Layers
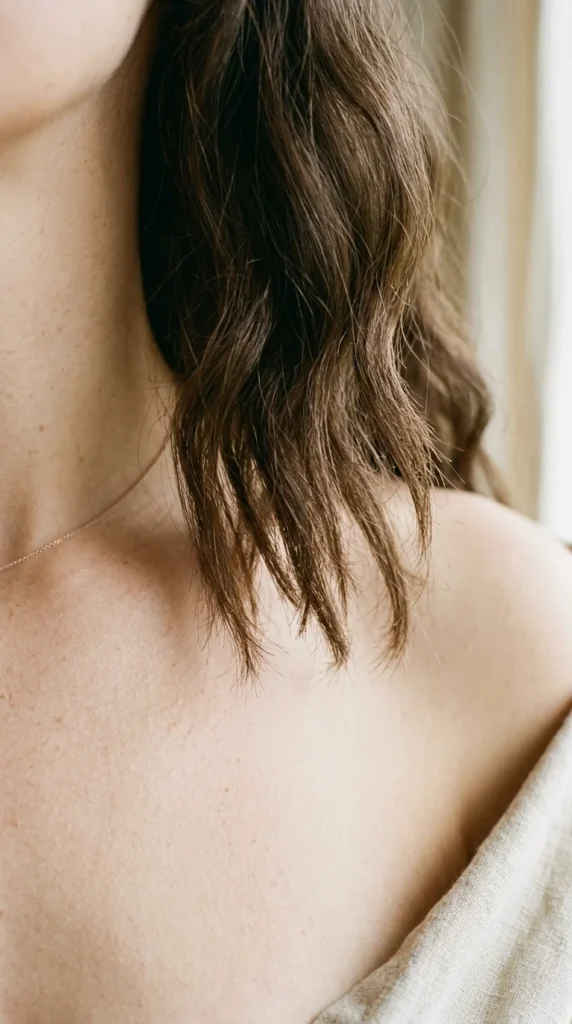
Point-cutting is a technique where the stylist cuts into the hair vertically rather than horizontally. This creates a “serrated” edge that is much softer than a blunt cut. These soft edges blend into the face, hiding the jawline without creating a harsh “wall” of hair.
23. Razor-Cut Wisps
Razor-cutting provides the ultimate lived-in look. These wisps are perfect for those with fine hair who want to add a slimming frame without losing too much volume. The razor creates tapered ends that lie flat against the face, minimizing width.
24. Face-Hugging Spirals

For those with curls, face-framing is essential. “Face-hugging spirals” involve cutting individual curls to different lengths so they “nestle” against the face. This prevents the “triangle hair” look where curls puff out at the sides, which can make the face look wider.
25. Waterfall Tapers
Waterfall tapers are ideal for those who love their length. The layers start much lower than usual—around the chest—and taper down. This creates a long, lean line that makes the entire body, and the face, look taller and slimmer.
How to Maintain Your Slimming Layers
To keep your face-framing layers looking their best and doing their slimming job, follow these professional tips:
- Regular Trims: Because these layers are right at the front, split ends and overgrowth are more noticeable. Aim for a trim every 6-8 weeks.
- Blow-Dry Forward: To get that face-hugging effect, use a round brush to blow-dry your front layers toward your face, then flick them back at the very end for a natural curve.
- Use a Lightweight Serum: Since these layers are close to your skin, you don’t want them looking greasy. Use a tiny amount of lightweight serum to keep them frizz-free and polished.
- The Power of the Part: Experiment with your part. A center part is generally the most slimming for face-framing layers as it creates perfect symmetry and two long vertical lines.