
The transition from a cropped pixie cut to a full-length bob is often whispered about in salon chairs as the “awkward phase.” It is that middle ground where your hair is too long to be a sleek crop but too short to be a cohesive bob, often resulting in accidental mullets or unruly volume at the nape. However, this journey doesn’t have to be a styling nightmare.
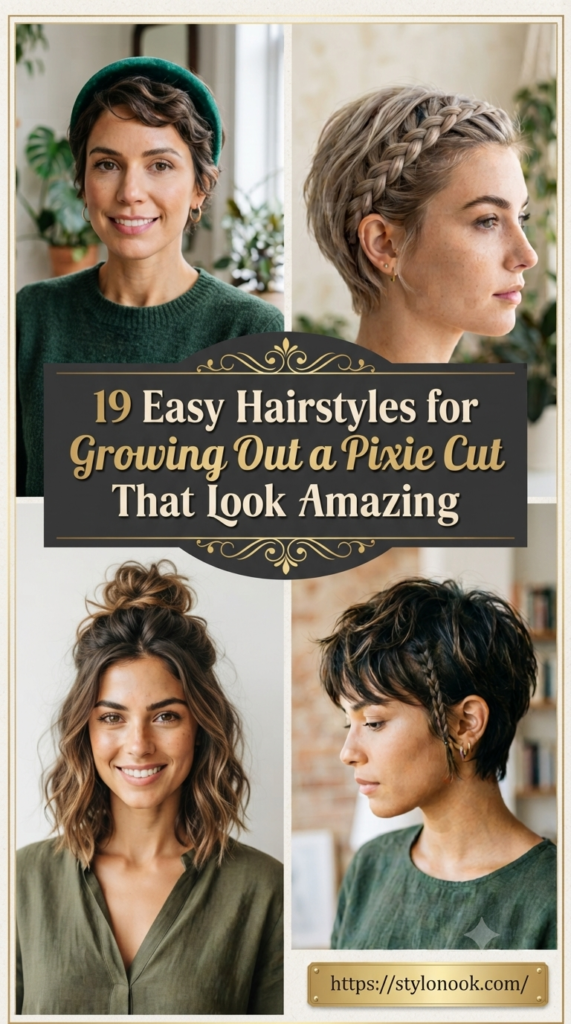
Growing out your hair is an opportunity to experiment with textures, accessories, and shapes you might have never considered. By strategically using products and clever pinning techniques, you can turn every inch of growth into a deliberate style choice. Here are 19 easy, stunning ways to navigate the grow-out process with grace and flair.
1. Statement Headbands
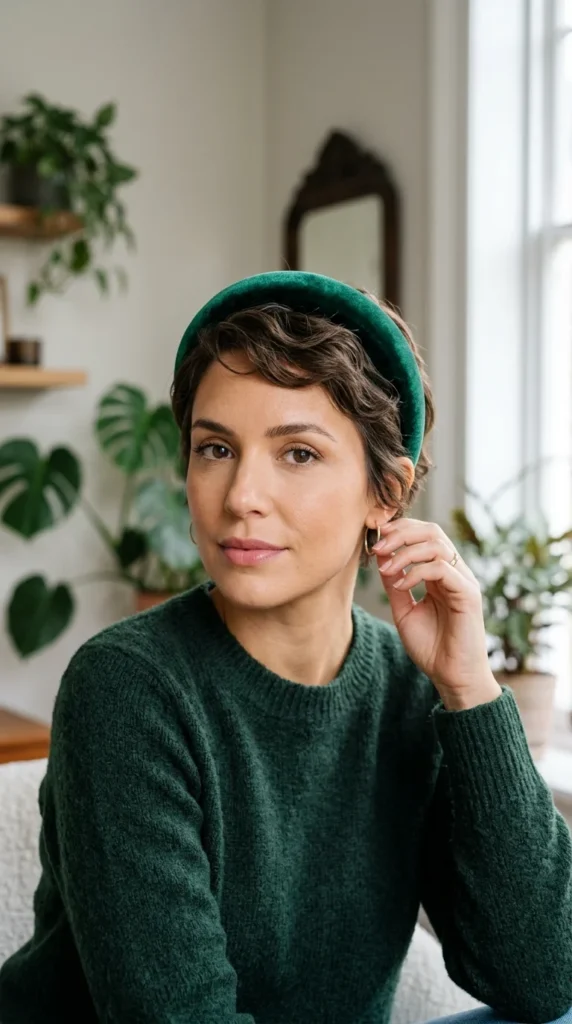
When your bangs reach that frustrating length where they poke your eyes but won’t stay behind your ears, the statement headband is your best friend. A wide, padded, or embellished headband serves two purposes: it physically holds back unruly layers and adds a focal point that makes your hairstyle look intentional. For the best result, leave a few wispy tendrils out near the ears to soften the look and prevent it from looking too “tucked in.”
2. Side Braids
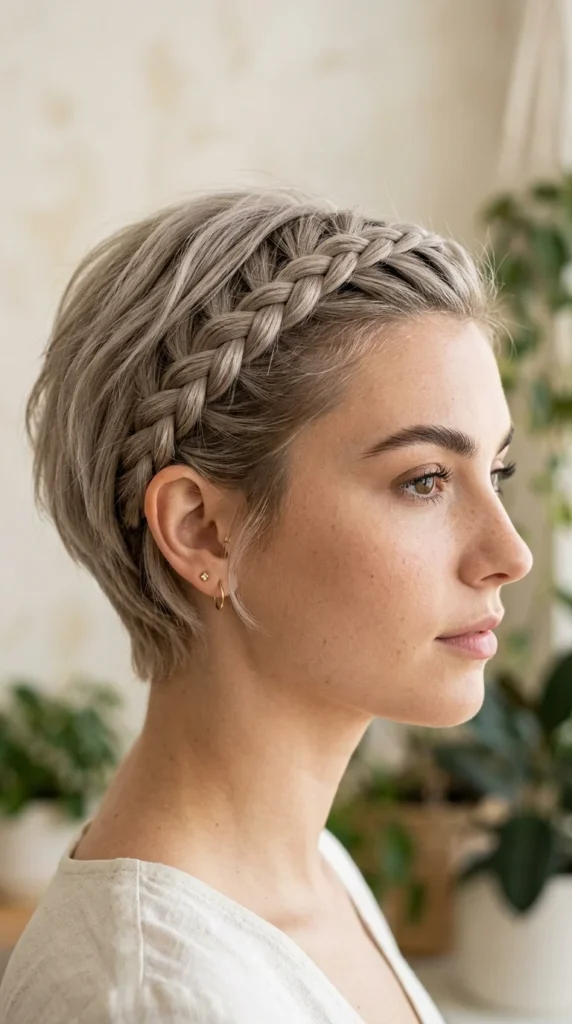
Braiding a small section along your hairline is a genius way to manage growing bangs. Whether you choose a French braid or a Dutch braid, this technique keeps the hair out of your face while adding a romantic, bohemian touch. It works particularly well when the top layers of your pixie have reached three or four inches in length. Secure the end with a small clear elastic or a bobby pin tucked under a longer layer of hair.
3. Slicked Back
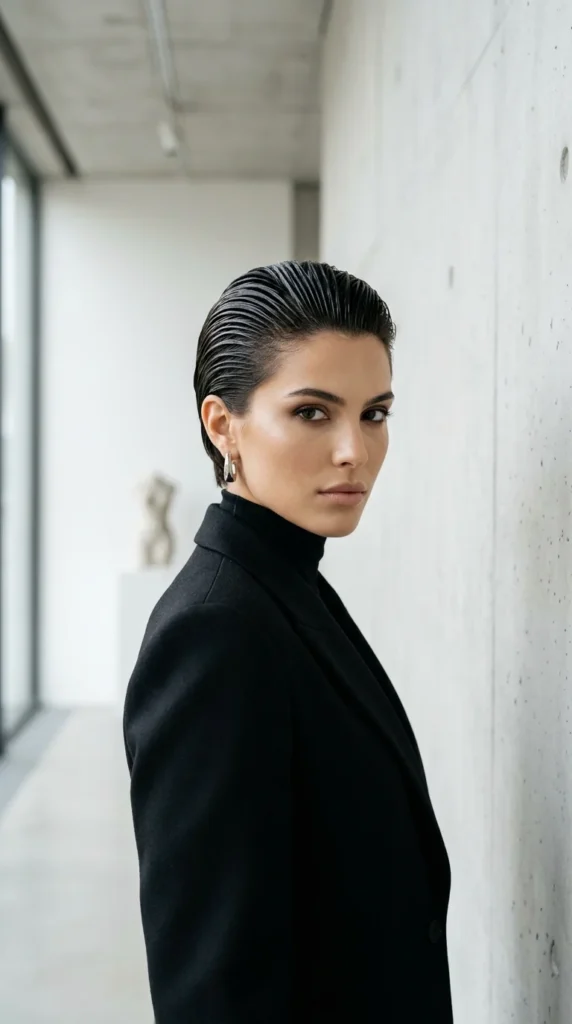
For a sophisticated evening look, the slicked-back style is unbeatable. This is perfect for the stage where your hair has gained some weight but lacks a definite shape. Use a high-shine pomade or a light-hold gel on damp hair, and comb it straight back from the forehead. This “wet look” camouflages uneven lengths and creates a sleek, powerful silhouette that looks straight off a runway.
4. Bobby Pin Art
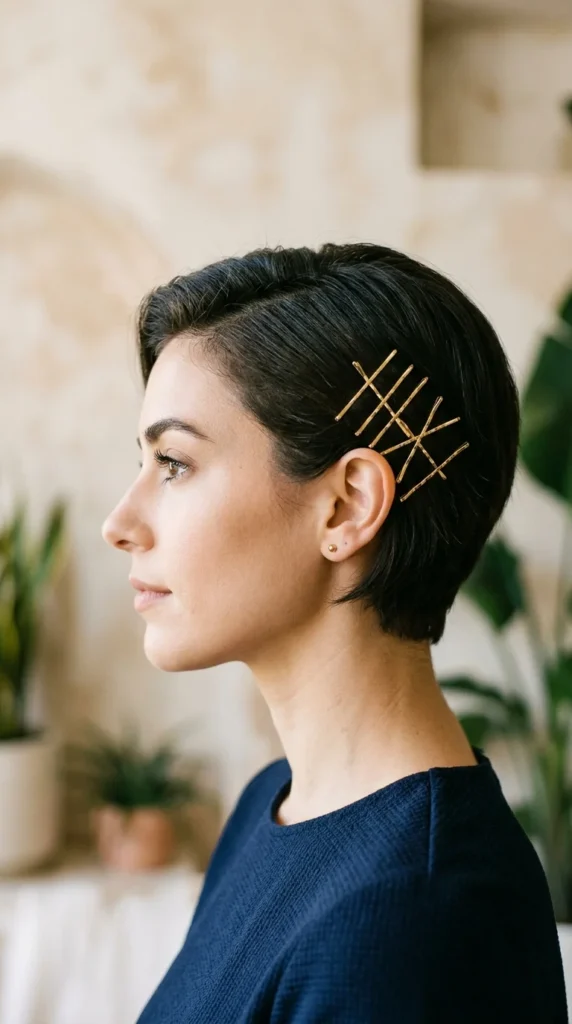
Instead of trying to hide your bobby pins, make them the star of the show. Using colorful or metallic pins to create geometric shapes—like triangles or parallel lines—can secure shorter side layers that aren’t yet long enough to reach a ponytail. This look turns a functional necessity into a trendy accessory, working beautifully on both straight and curly textures.
5. Micro Ponytail
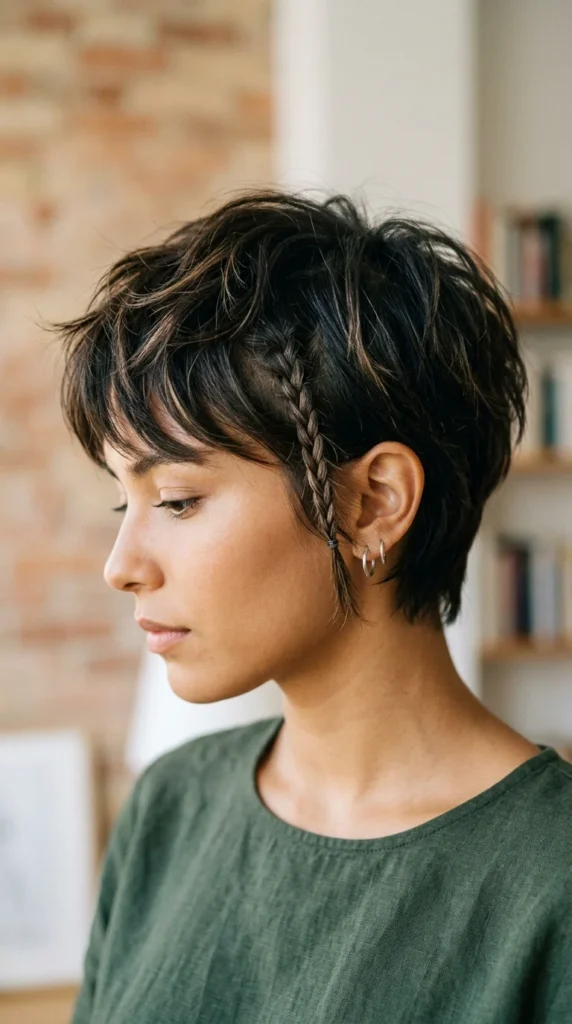
The “sprout” or micro-ponytail is a milestone in the grow-out process. When the back of your hair reaches the base of your neck, pull what you can into a tiny tie. Don’t worry about the pieces that fall out around the front; let them hang loose to frame your face. This “half-done” look is incredibly chic and helps manage the bulk at the back of the head that often leads to the dreaded mullet shape.
6. Half-Up Top Knot
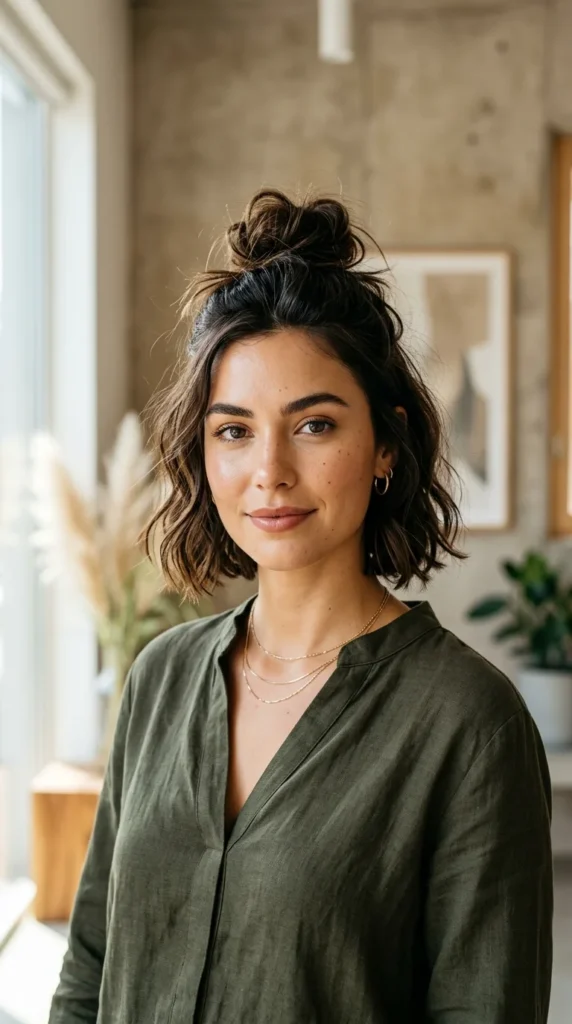
Once your top layers are long enough to reach the crown of your head, the half-up top knot becomes a daily staple. This style is excellent for hiding the fact that the bottom layers are much shorter than the top. It provides an instant lift to the face and works best with a bit of dry shampoo or sea salt spray to give the knot some grip and volume.
7. Silk Scarf Wrap
The silk scarf is the ultimate camouflage for a bad hair day during the grow-out phase. You can wrap it like a 1950s headband, tie it around a tiny ponytail, or use it to cover the entire back of your head while leaving your fringe exposed. It’s an effortless way to add color and pattern to your outfit while keeping unruly, “in-between” layers completely under wraps.
8. Deep Side Part

A deep side part can completely change the perceived shape of your hair. By shifting your part significantly to one side, you create an asymmetrical look that masks uneven growth. Use a bit of styling cream to smooth down the “short” side and tuck it behind your ear, while allowing the “long” side to sweep across your forehead.
9. Shaggy Mullet
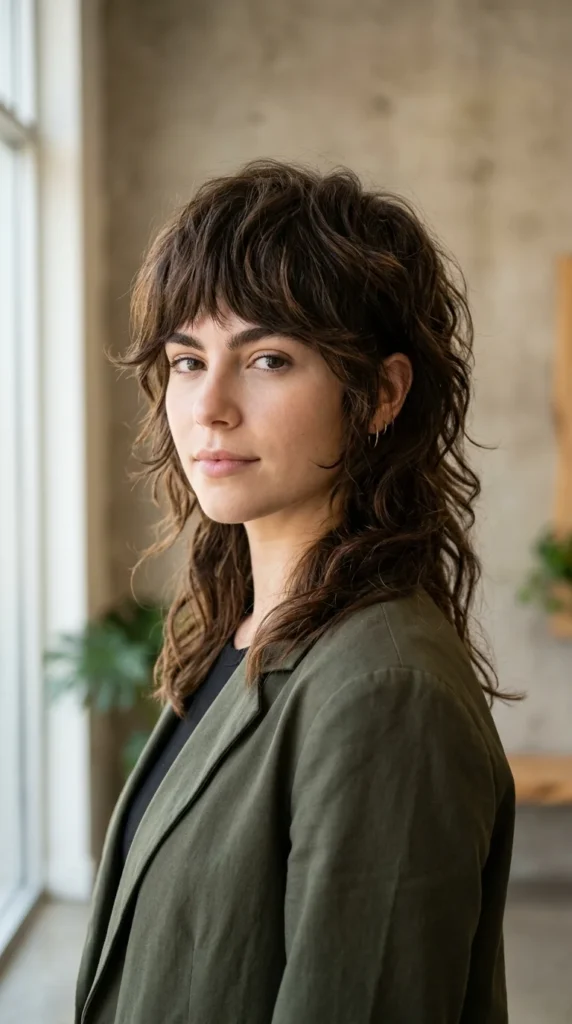
The “wolf cut” or modern mullet is currently very trendy, which is great news for anyone growing out a pixie. Instead of fighting the fact that the back of your hair grows faster than the front, lean into it. Ask your stylist to add choppy layers and a bit of “shag” to the look. This makes the length at the back look like a deliberate style choice rather than a lack of a haircut.
10. Subtle Waves

Adding texture is the best way to hide uneven ends. Use a small-barrel curling iron or a flat iron to create loose, messy waves. When the hair is wavy, it’s much harder to tell where one layer ends and another begins. This creates a soft, voluminous look that disguises the transition from a pixie to a bob.
11. Hidden Mini-Braid
If you have a section of hair that is particularly bothersome or always falls in your eyes, try a hidden mini-braid. Braid a small section and pin it underneath a longer layer of hair. It’s a functional way to get hair out of the way without the bulk of a large clip or headband, and it adds a touch of mystery to your style.
12. Bejeweled Barrettes
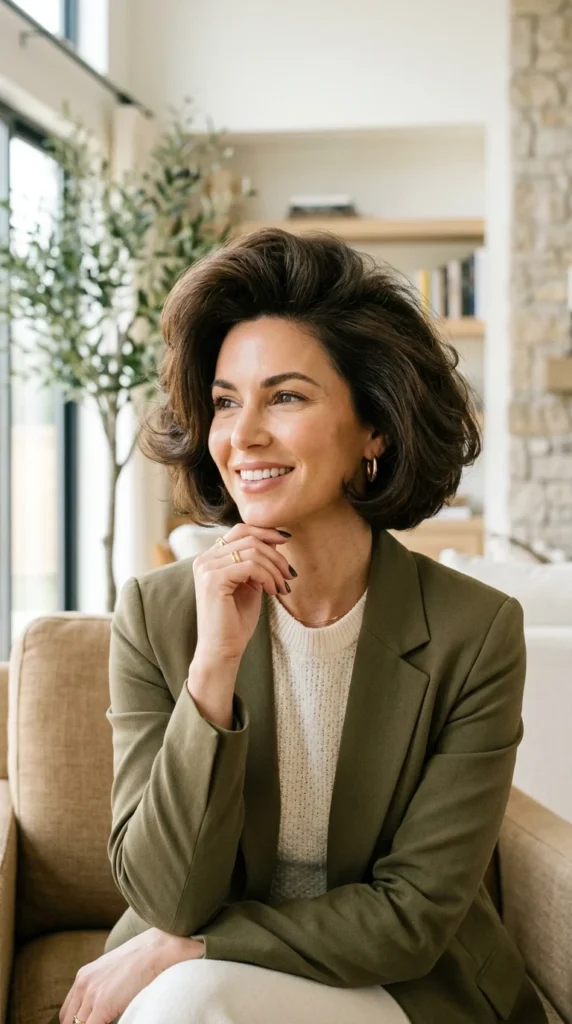
For those days when you want to feel a bit more “done,” oversized bejeweled barrettes are the answer. Position them just above the ear on one side. This draws the eye to the accessory rather than the length of the hair and works perfectly for wedding guest looks or formal events during the grow-out phase.
13. Tucked and Pinned
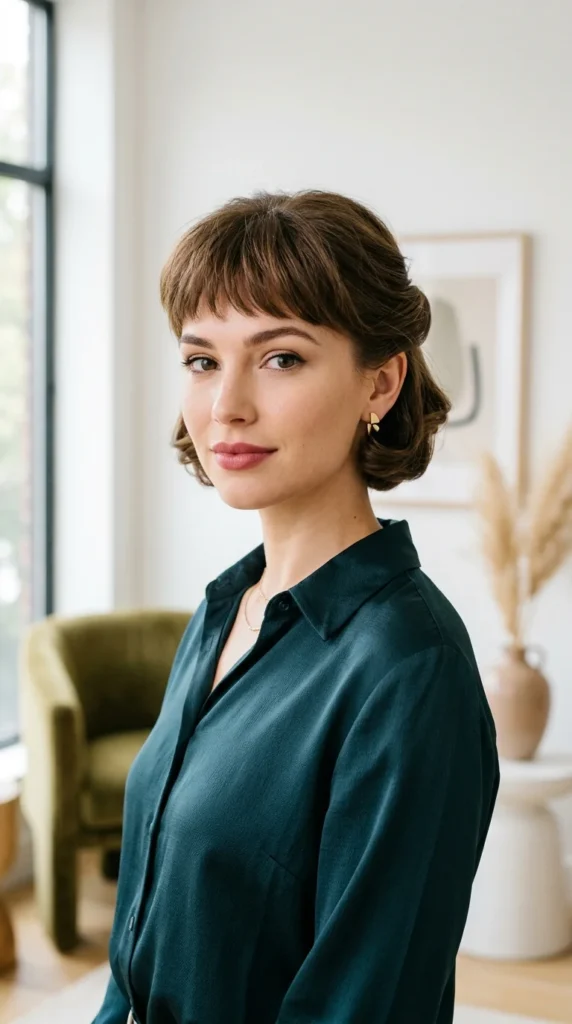
If the back of your hair is getting too long and “mullet-like,” you can fake a shorter, more uniform look. Roll the longer back sections upward and secure them with bobby pins at the nape of your neck. This creates a faux-bob silhouette that looks neat and professional while you wait for the side layers to catch up in length.
14. Piecey Texture

Texture is your best friend when you’re in the very early stages of growth. Use a matte pomade or styling wax to create a “piecey” look. Pulling small sections of hair and twisting them with product helps to define the layers and gives the hair a messy-cool vibe that looks intentional and edgy rather than unkempt.
15. The Faux-Hawk
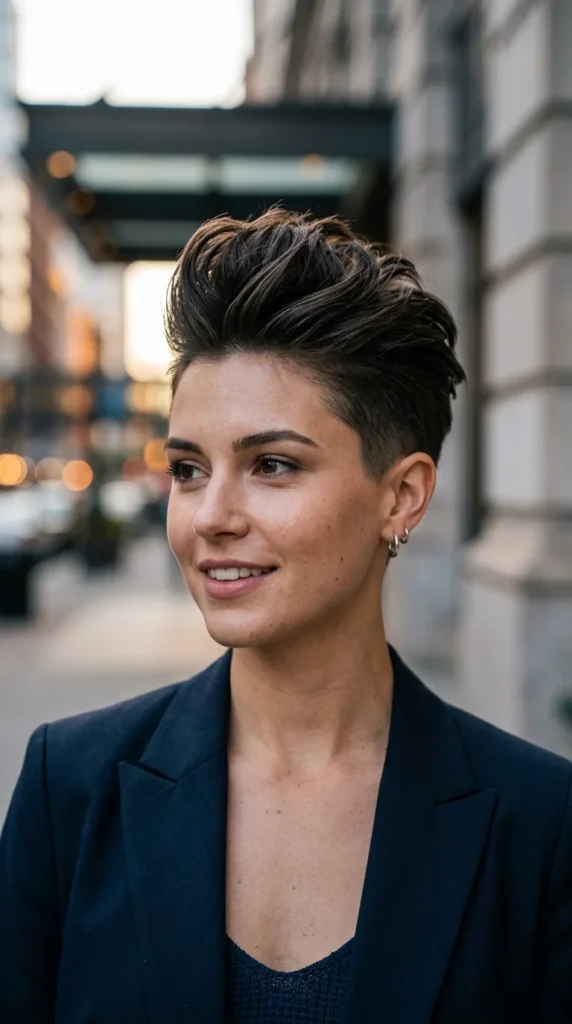
When the sides of your hair are still quite short but the top is getting long, the faux-hawk is a brilliant option. Use a strong-hold mousse or gel to push the center section of your hair up and forward, while smoothing the sides back. It’s a bold, high-energy look that celebrates the unique lengths of a growing pixie.
16. Double Dutch Braids
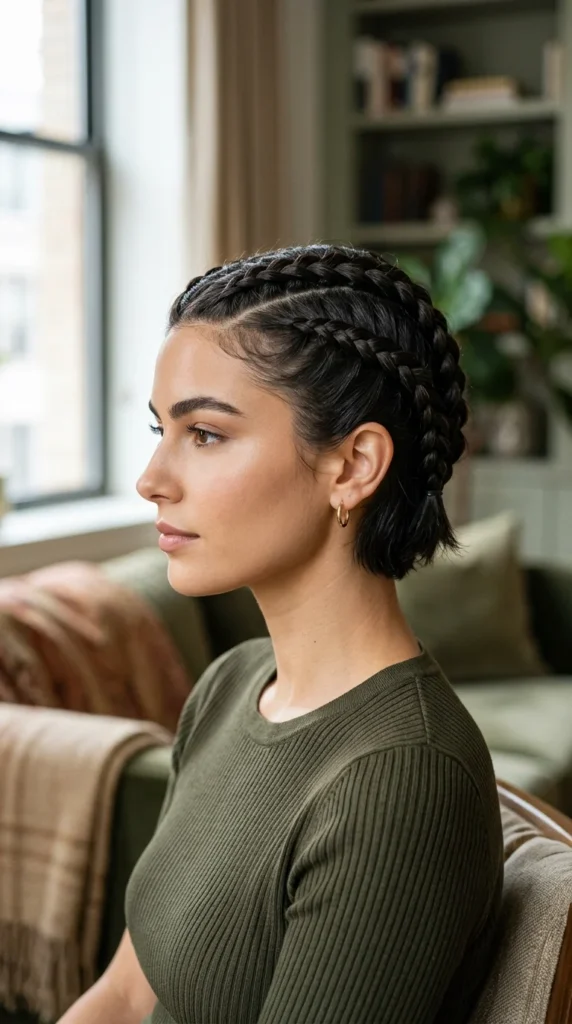
Even with very short hair, you can often manage two small Dutch braids on the top of your head. This “boxer braid” style is excellent for active days or workouts. Because the hair is braided tightly against the scalp, it doesn’t matter if the ends are short; you can just secure them with a bit of hairspray or small pins where the braid ends.
17. The “Flip”
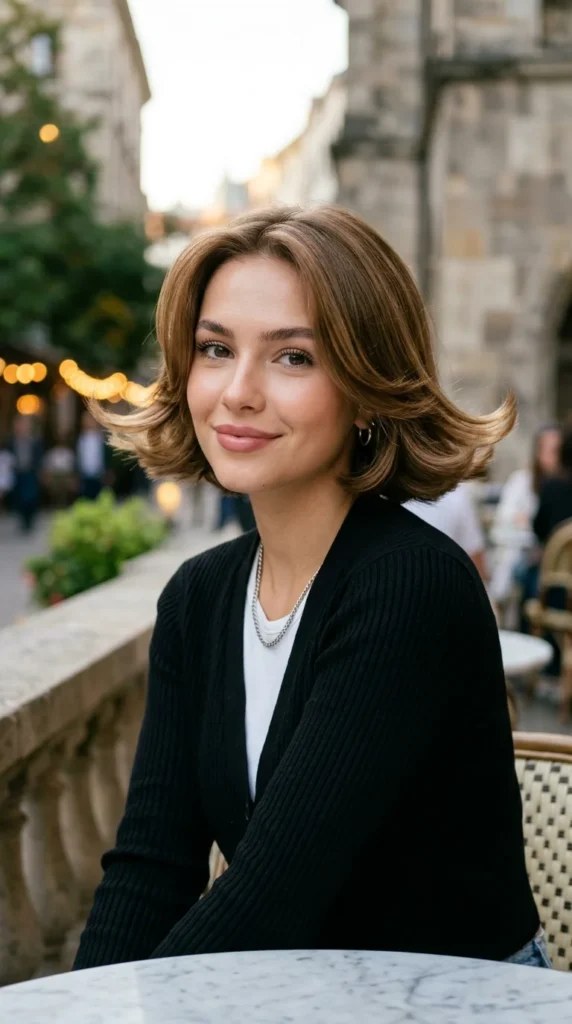
Channel your inner 90s icon by flipping the ends of your hair outward. When your pixie reaches the “flipped out” stage at the neck, don’t fight it—emphasize it. Use a flat iron to flick the ends of your hair away from your face and neck. This creates a playful, retro silhouette that looks incredibly trendy with modern outfits.
18. Center Part Sleekness

As you move closer to a true bob, try a crisp center part. Use a flat iron to get the hair as straight as possible, and then tuck both sides behind your ears. Use a tiny bit of hair oil to tame flyaways. This symmetrical look is very “clean girl” aesthetic and makes the hair look healthy and well-maintained.
19. Volume at the Roots
Flat hair can often make a growing-out pixie look limp and awkward. By focusing on root volume, you change the entire shape of the style. Use a volumizing spray on damp hair and blow-dry with a small round brush, pulling the hair upward. The added lift at the crown balances out the length at the back, giving you a polished, voluminous look that bridges the gap between short and mid-length beautifully.