
Being a bridesmaid is an honor, but between the dress, the travel, and the gifts, the costs can add up quickly. One of the easiest ways to save money without sacrificing glamour is by doing your own hair. You don’t need to be a professional stylist to achieve a red-carpet-worthy look. With the right tools, a bit of practice, and these step-by-step guides, you can create a stunning hairstyle that lasts from the first photo to the last dance.
1. Low Chignon
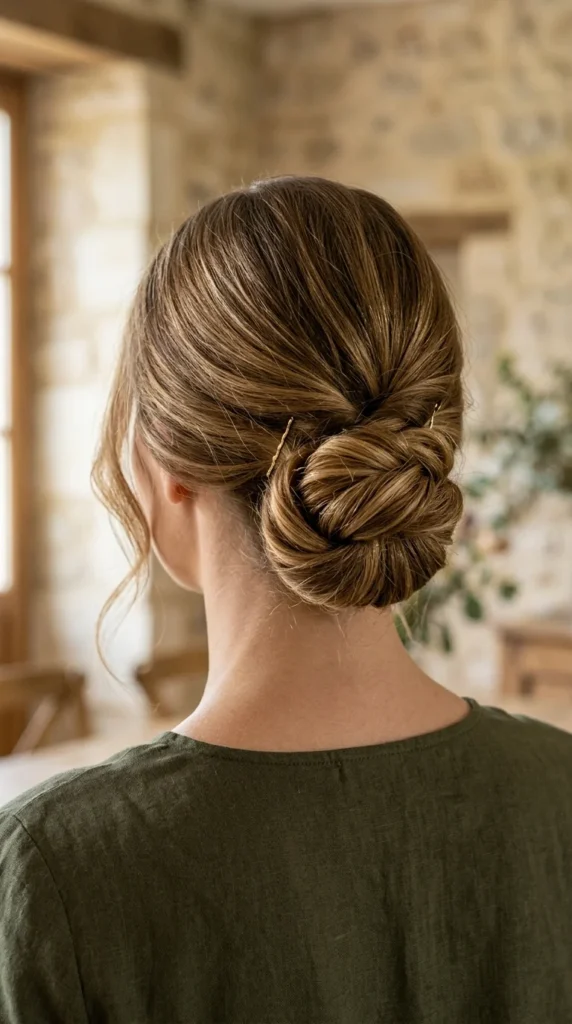
The low chignon is the epitome of timeless elegance. It works perfectly with any dress neckline and keeps hair off your neck during warm summer weddings.
- How to do it: Start by pulling your hair into a low ponytail at the nape of your neck. Create a small opening just above the hair tie and loop the ponytail through it (a “topsy tail” move). Take the remaining hair, roll it upward toward the base of the ponytail, and secure it with several bobby pins. Spritz with a strong-hold hairspray.
2. Boho Braid
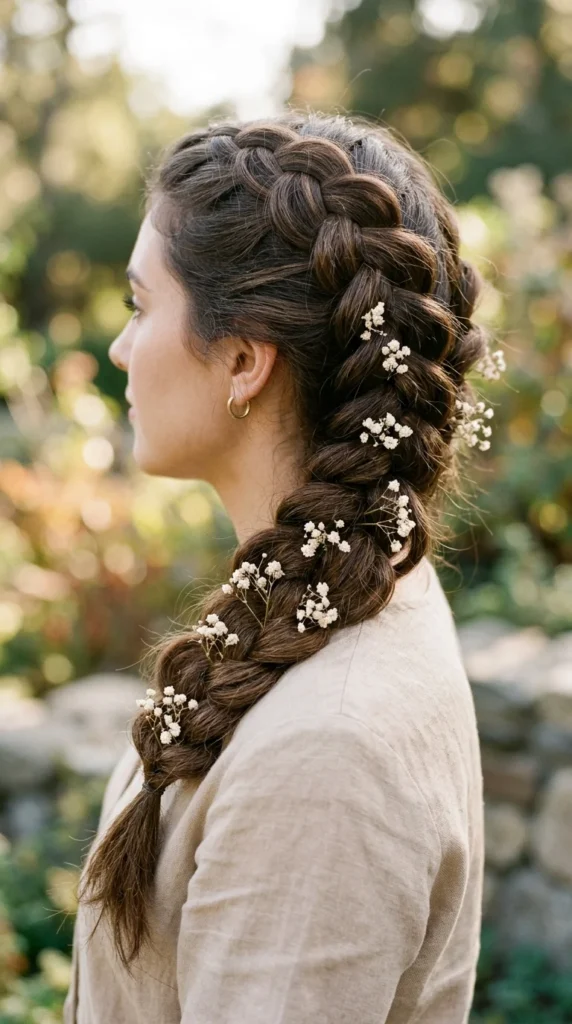
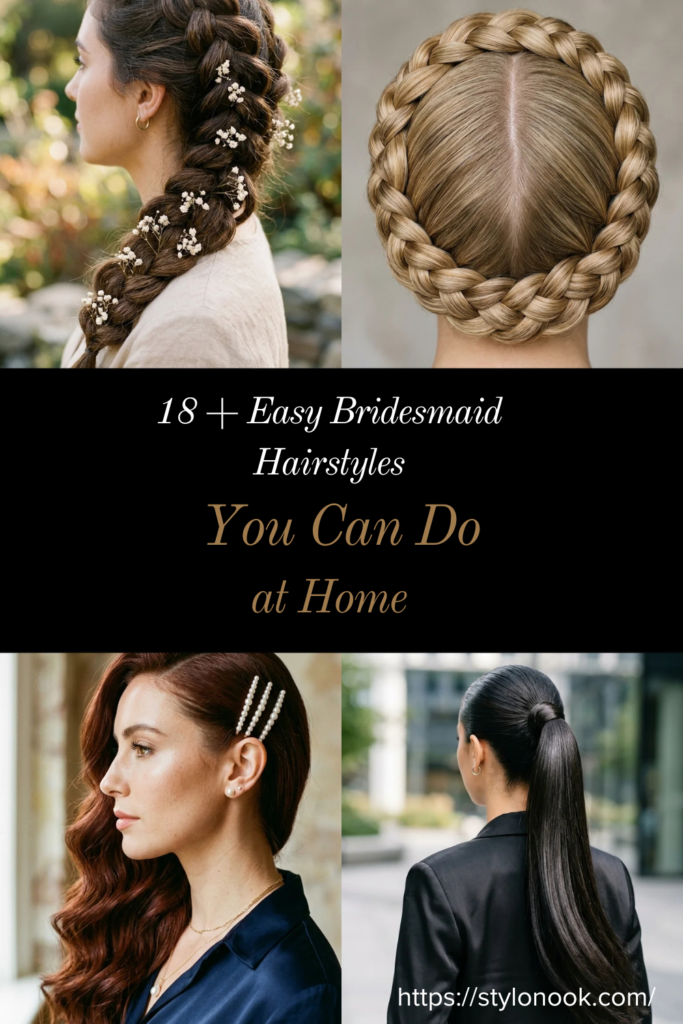
For a whimsical or outdoor wedding, the boho braid is a go-to choice. It’s meant to look a little messy, which takes the pressure off getting it “perfect.”
- How to do it: Begin a Dutch braid (where you cross strands under instead of over) from one side of your forehead, working diagonally down toward the opposite shoulder. Once you reach the ends, secure with a clear elastic. Gently pull at the edges of each loop of the braid to create volume and a relaxed feel.
3. Sleek Pony

A high, sleek ponytail is modern, chic, and incredibly flattering. It provides an instant “facelift” effect and keeps you looking polished all night.
- How to do it: Brush your hair thoroughly to remove all tangles. Apply a smoothing serum or gel to the roots and brush hair upward into a high ponytail. Secure with a sturdy elastic. Take a small section of hair from the bottom of the pony, wrap it around the elastic until it’s hidden, and pin it underneath.
4. Half-Up Twist
The half-up twist offers the best of both worlds: the beauty of long, flowing hair and the practicality of keeping strands out of your face.
- How to do it: Curl your hair with a large-barrel iron first. Take a two-inch section of hair from above each ear. Twist both sections toward the back of your head. Bring them together at the center and secure with a small elastic or a decorative clip. Pull slightly on the twists to add texture.
5. Dutch Halo
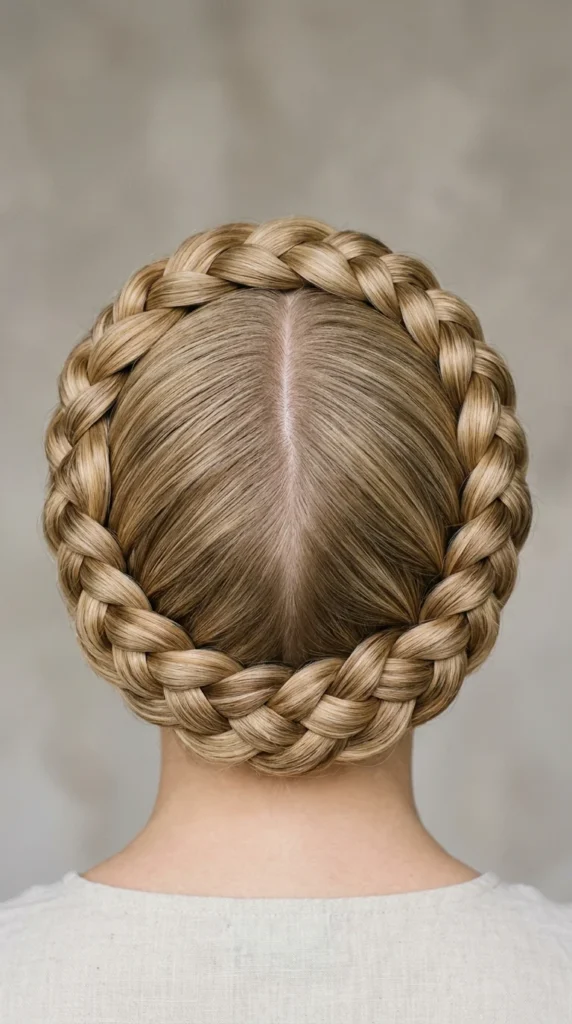
The Dutch halo (or crown braid) is a regal look that stays secure through hours of dancing. It’s surprisingly easy once you master the basic Dutch braid technique.
- How to do it: Part your hair down the middle into two sections. Dutch braid each section from the nape of the neck up toward the forehead. Once both braids are finished, wrap them around the top of your head, tucking the ends under the opposite braid. Pin securely with bobby pins every few inches.
6. Side Swept

The side-swept look is pure Hollywood glamour. It’s a great way to show off a statement earring or an asymmetrical dress detail.
- How to do it: Create a deep side part. Curl all of your hair in the same direction to create a uniform wave pattern. Brush through the curls to soften them. Sweep all the hair over one shoulder and use several bobby pins at the nape of the neck to keep it in place, hiding the pins under the top layer of hair.
7. Bubble Braid
The bubble braid is trendy, youthful, and incredibly simple. It’s a great alternative to a traditional braid for those who haven’t mastered weaving techniques.
- How to do it: Pull hair into a high or mid-height ponytail. Every two to three inches down the ponytail, place another elastic. Use your fingers to pull the hair between the elastics outward, creating a “bubble” shape. Repeat until you reach the bottom.
8. French Twist
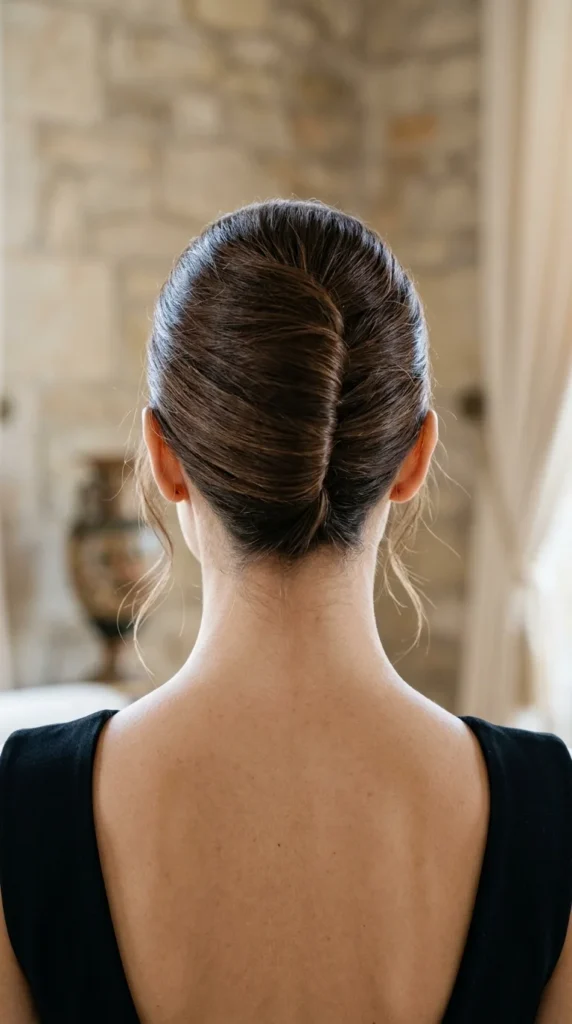
The French twist is a sophisticated staple for formal weddings. While it looks complicated, it’s really just about the roll and the pins.
- How to do it: Gather your hair as if making a low ponytail. Twist the hair tightly upward. As you twist, the hair will naturally want to roll against your head. Tuck the ends into the “pocket” created by the roll. Insert large bobby pins or a hair fork vertically to lock the twist in place.
9. Messy Bun
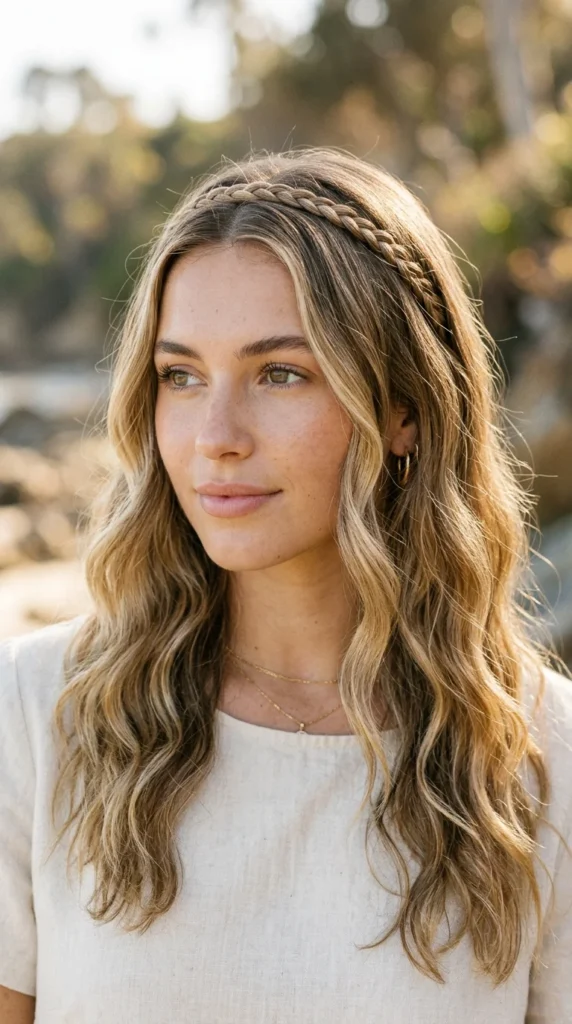
Don’t let the name fool you—a “wedding” messy bun is a carefully constructed look that balances casual and formal.
- How to do it: Apply dry shampoo or a texturizing spray for grip. Pull hair into a loose ponytail. On the last loop of the elastic, don’t pull the hair all the way through, creating a loop. Wrap the excess ends around the base and pin them loosely. Tug on sections of the bun to create a fuller, more “undone” appearance.
10. Braided Crown
This is a simpler version of the halo braid, acting more like a built-in headband. It’s perfect for bridesmaids with medium-length hair.
- How to do it: Take a small section of hair from behind one ear and braid it to the end. Do the same on the other side. Bring the first braid across the top of your head and pin it behind the opposite ear. Repeat with the second braid, crossing it over the first.
11. Low Pony

Minimalism is a huge trend in bridal party fashion. A low, sleek ponytail with a ribbon is understated and incredibly chic.
- How to do it: Part your hair in the center and use a flat iron for a glass-like finish. Gather hair at the very base of your neck and secure with a clear elastic. Tie a silk or velvet ribbon over the elastic, letting the ends hang long.
12. Tucked Waves

If you have a “lob” (long bob) or shorter hair, the tucked waves style is your best friend. It’s glamorous without needing a lot of length.
- How to do it: Curl hair with a 1-inch wand, curling away from the face. Once cool, brush out gently. Create a side part. On the side with less hair, tuck the section behind your ear and secure it with a decorative comb or a cluster of jeweled pins.
13. Fishtail Braid

The fishtail braid looks intricate and high-effort, making it a standout choice for bridesmaids. It’s particularly stunning on hair with highlights.
- How to do it: Divide your ponytail into two equal sections. Take a small piece from the outside of the left section and cross it over to the right section. Then, take a small piece from the outside of the right section and cross it to the left. Repeat until you reach the bottom and secure.
14. Ribbon Bow
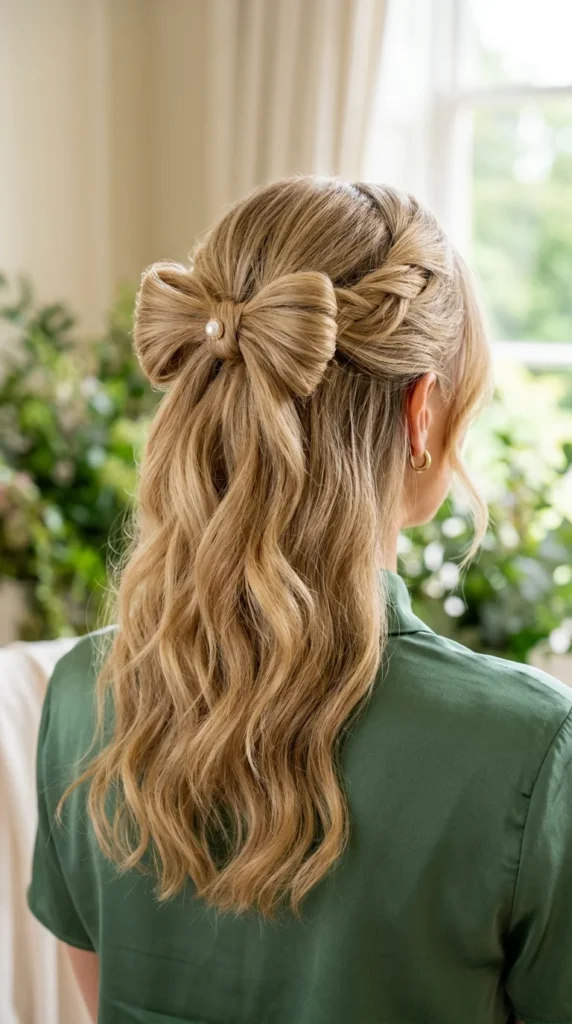
Using your own hair to create a bow is a fun, “Pinterest-worthy” style that always gets compliments.
- How to do it: Create a half-up ponytail but leave it in a loop on the last pass through the elastic. Split the loop into two halves to create the “wings” of the bow. Pin them to your head. Take the tail of the ponytail, flip it up over the center of the wings, and pin it to create the center of the bow.
15. Twisted Half-Up
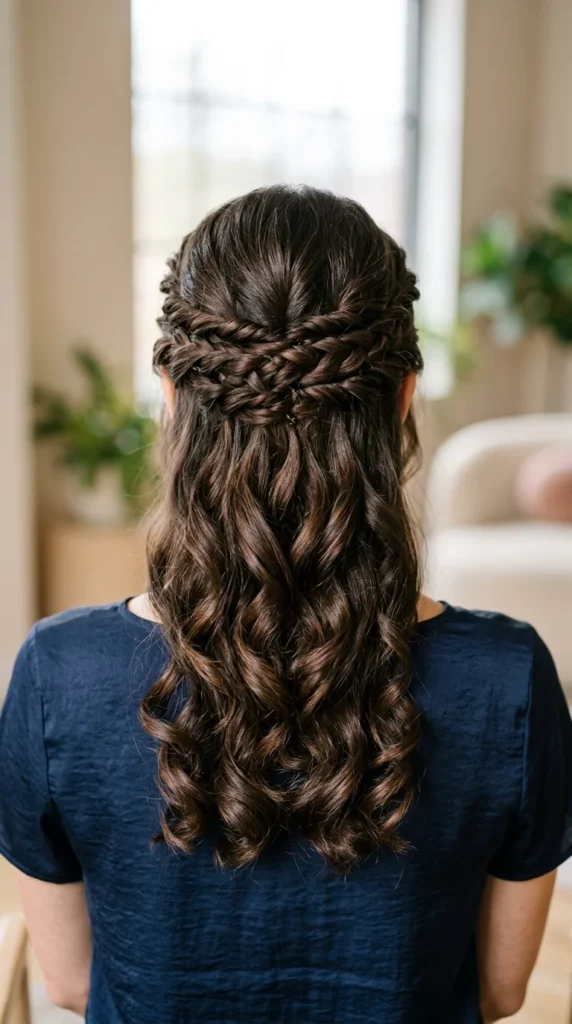
This is a variation of the half-up twist that uses multiple smaller sections to create more visual interest and texture.
- How to do it: Take 1-inch sections from the front and twist them back, pinning them at the center. Take another section from just below the first and repeat, overlapping the previous twist. Do this three times on each side for a layered, intricate look.
16. High Bun
The high bun is the ultimate “clean girl” aesthetic for a wedding. It keeps hair completely out of the way and showcases your makeup and jewelry.
- How to do it: Flip your head upside down and gather hair into a high ponytail. Use a “hair donut” or sock if you want extra volume. Thread the ponytail through the donut, spread the hair over it to hide the mesh, and secure with a second elastic and pins.
17. Scarf Braid
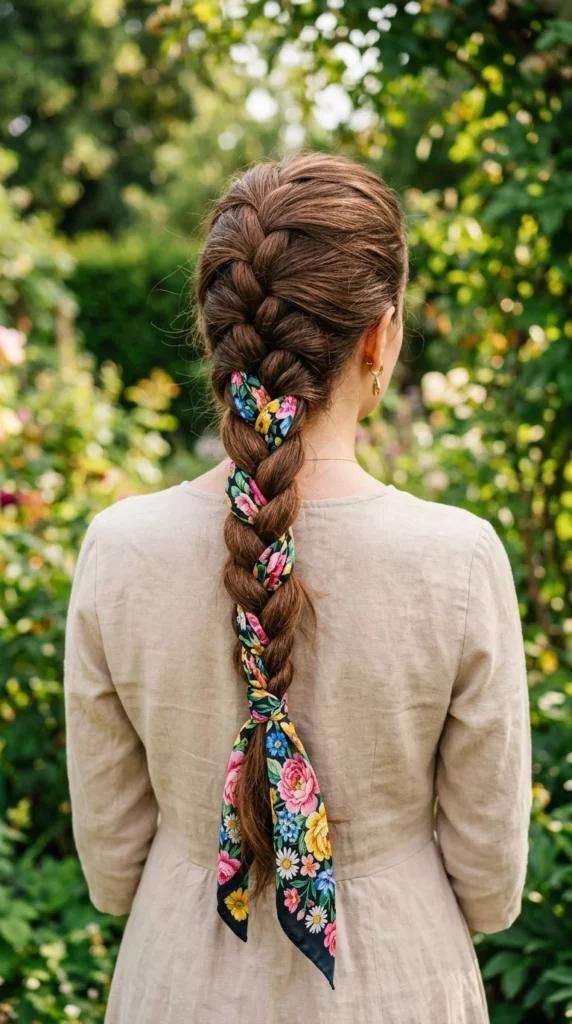
If the wedding has a specific color palette, incorporating a silk scarf into your braid is a brilliant way to coordinate.
- How to do it: Tie a thin silk scarf to the base of a ponytail. Divide the hair into two sections and use the scarf as the third section. Braid normally. Tie the end of the scarf around the bottom elastic to finish the look.
18. Loose Curls
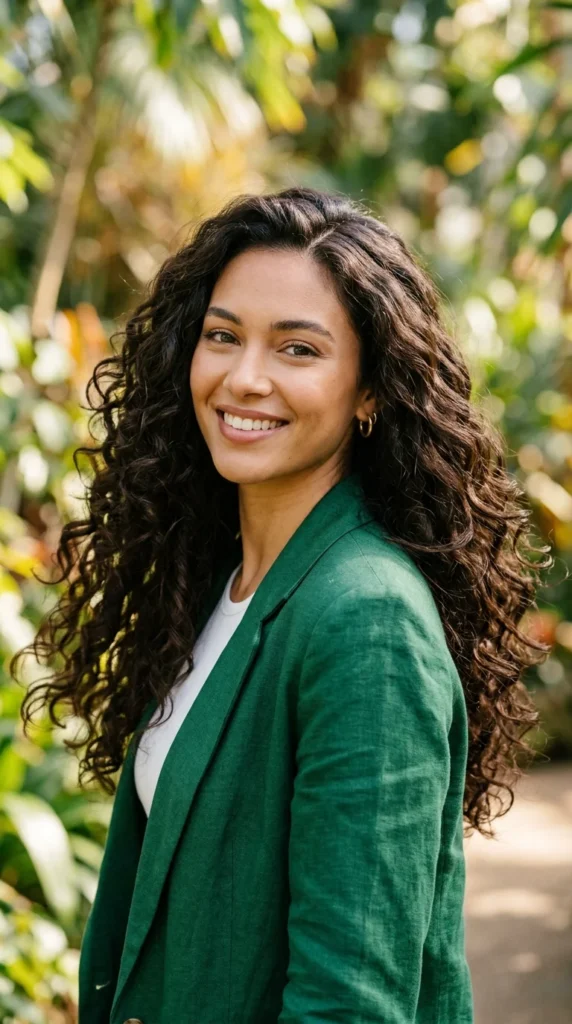
Sometimes, simple is best. Healthy, bouncy curls are a classic bridesmaid look that never goes out of style.
- How to do it: Apply a heat protectant and a volumizing mousse to damp hair. Blow dry, then use a large curling iron (1.5 inches). Curl large sections, pinning each curl to your head while it cools to “set” the shape. Release, brush through with a wide-tooth comb, and finish with shine spray.
19. Top Knot
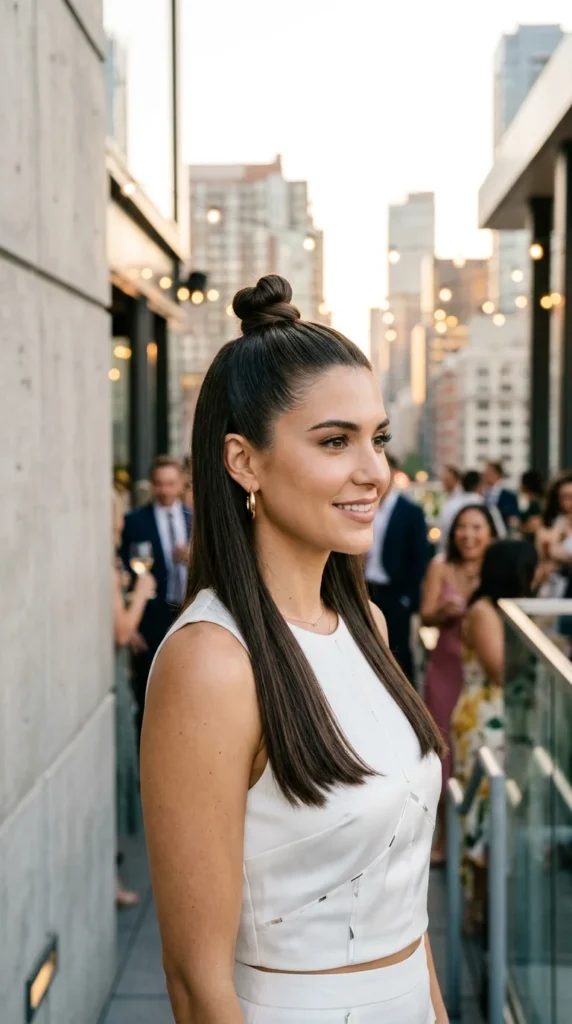
For a modern, trendy bridal party, the half-up top knot is a cool-girl staple that works across many different hair textures.
- How to do it: Section off the top third of your hair. Twist it into a small, tight bun on the very top of your head. Secure with pins. Keep the rest of the hair sleek and straight or add very light waves for contrast.
Pro-Tips for DIY Bridesmaid Hair
- Second-Day Hair is Best: Most of these styles (especially braids and updos) hold better on hair that wasn’t washed the morning of the wedding. The natural oils provide “grip.”
- Invest in Good Tools: A high-quality hairspray, professional bobby pins (the ones that don’t slide out!), and a heat protectant are non-negotiable.
- Practice Makes Perfect: Don’t try these for the first time on the morning of the wedding. Do a “dry run” a week before to see how long it takes and how it looks with your dress.
- The Power of Texture: If your hair is fine or slippery, use a texturizing powder or dry shampoo before you start styling to give your hair the “bulk” it needs for braids and buns.