
The back-to-school season is a whirlwind of new shoes, crisp notebooks, and the inevitable morning scramble. Between packing lunches and hunting for missing socks, finding time to create a masterpiece out of your child’s hair can feel like a marathon you didn’t train for. However, a great hairstyle does more than just keep hair out of their eyes; it boosts their confidence and helps them feel ready to take on the playground and the classroom.
You don’t need a degree in cosmetology to master the morning routine. These thirteen hairstyles are designed for the “five-minutes-until-the-bus-arrives” moments. They are sturdy enough to survive recess, cute enough for school pictures, and simple enough for even the most sleep-deprived parent to execute.
1. Triple Flip
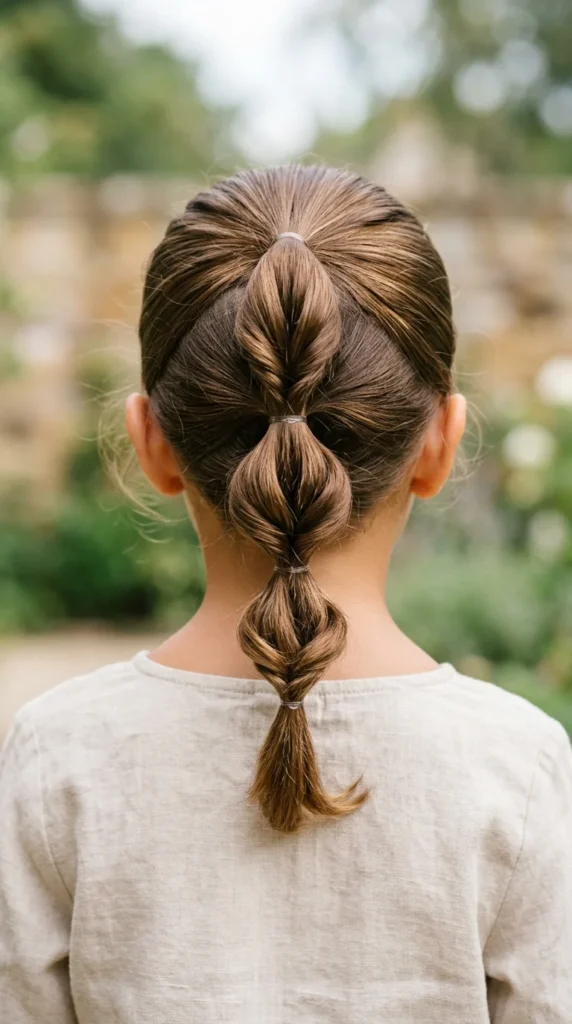
The Triple Flip (often called the topsy-tail) is the ultimate “cheat code” for moms. It looks like a complex, intricate braid but requires nothing more than three elastic bands and about two minutes.
- How to do it: Start by pulling the top section of hair into a small half-up ponytail. Create a gap just above the elastic and loop the ponytail up and through that hole.
- The Layering: Take the tail of the first flip along with a new section of hair from the sides and create a second ponytail directly below the first. Repeat the flip.
- Final Touch: Repeat a third time at the nape of the neck. The result is a secure, tiered look that stays put all day.
2. Space Buns
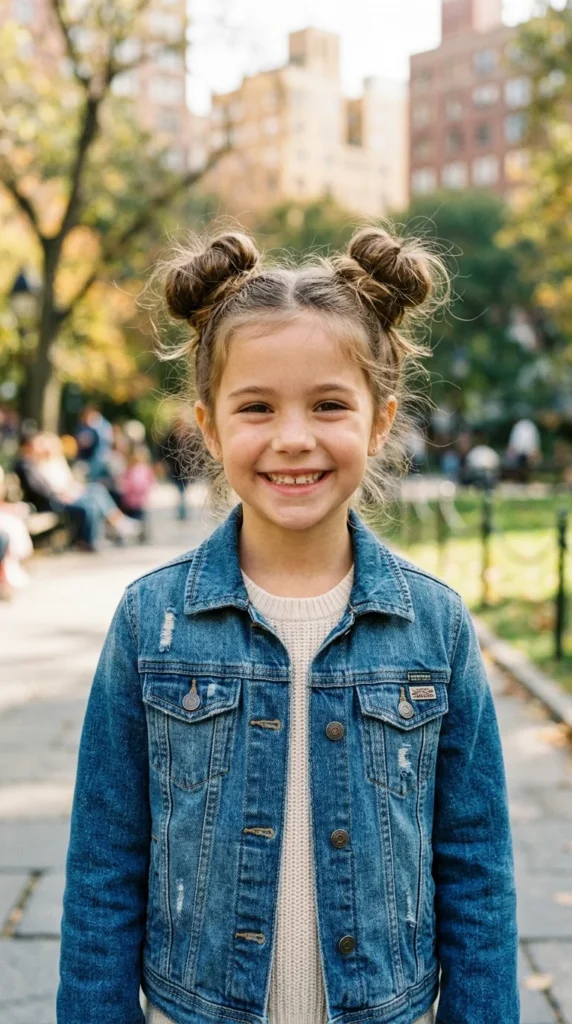
Space buns are a perennial favorite because they are playful, trendy, and incredibly effective at keeping hair entirely off the neck during hot afternoon gym classes.
- Symmetry is Key: Part the hair straight down the middle from the forehead to the nape. Secure each side into a high pigtail.
- The Twist: Twist each pigtail tightly until it starts to coil around itself. Pin it down with bobby pins or secure it with another elastic.
- Style Tip: For a “messy-chic” look, gently tug at the edges of the buns to add volume and fluffiness.
3. Pull-Through
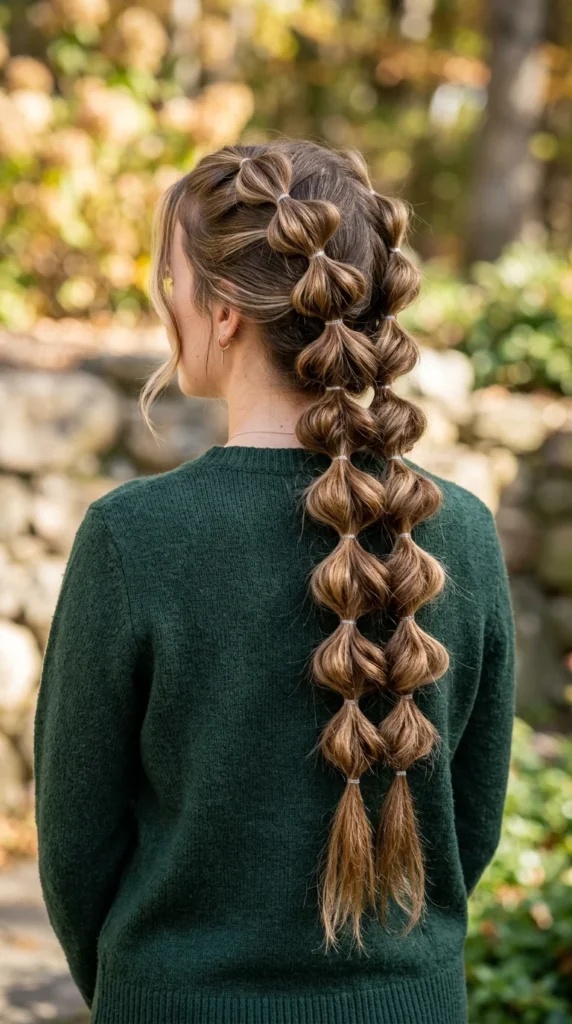
If your child has fine hair that tends to slip out of traditional braids, the pull-through “braid” is your new best friend. Because it uses elastics at every stage, it is virtually indestructible.
- The Setup: Create two small ponytails, one above the other.
- The Technique: Split the top ponytail in half, bring the bottom ponytail up through the middle, and clip it out of the way.
- The Connection: Add more hair to the two split ends of the first ponytail and secure them into a new ponytail with an elastic.
- Repeat: Continue this down the length of the hair for a stunning, high-volume look.
4. High Pony
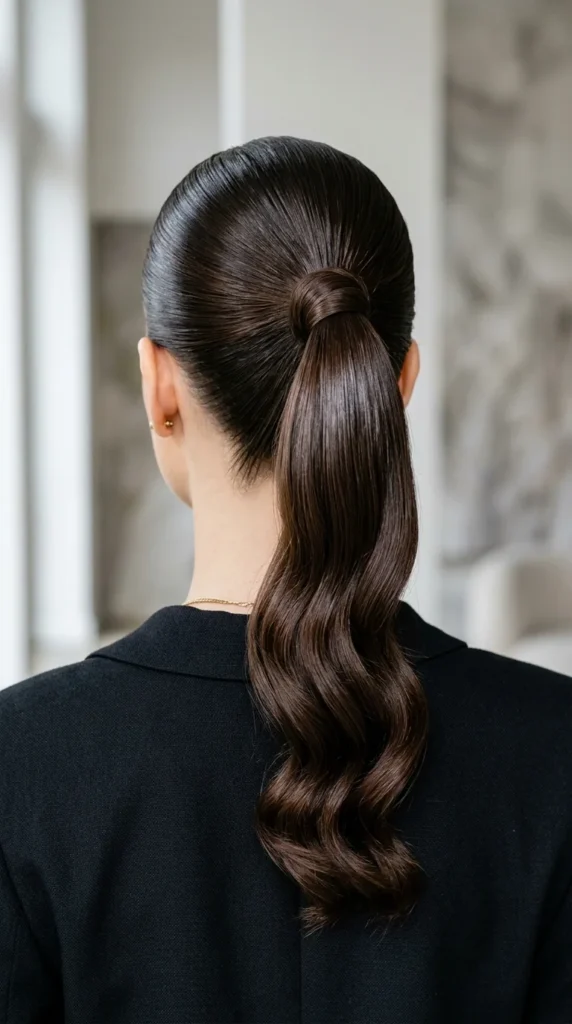
Never underestimate the power of a perfectly executed high ponytail. It is the gold standard of “cool girl” school style and works for everything from sports to the spring concert.
- The Secret to Smoothness: Use a boar-bristle brush and a tiny bit of water or light gel to smooth back flyaways.
- Height Matters: Aim for the crown of the head. Tilting the child’s head back while you brush can help prevent “baggy” sections at the nape.
- The Wrap: To elevate the look, take a small sliver of hair from the bottom of the pony, wrap it around the elastic, and tuck it underneath with a bobby pin.
5. Dutch Braids
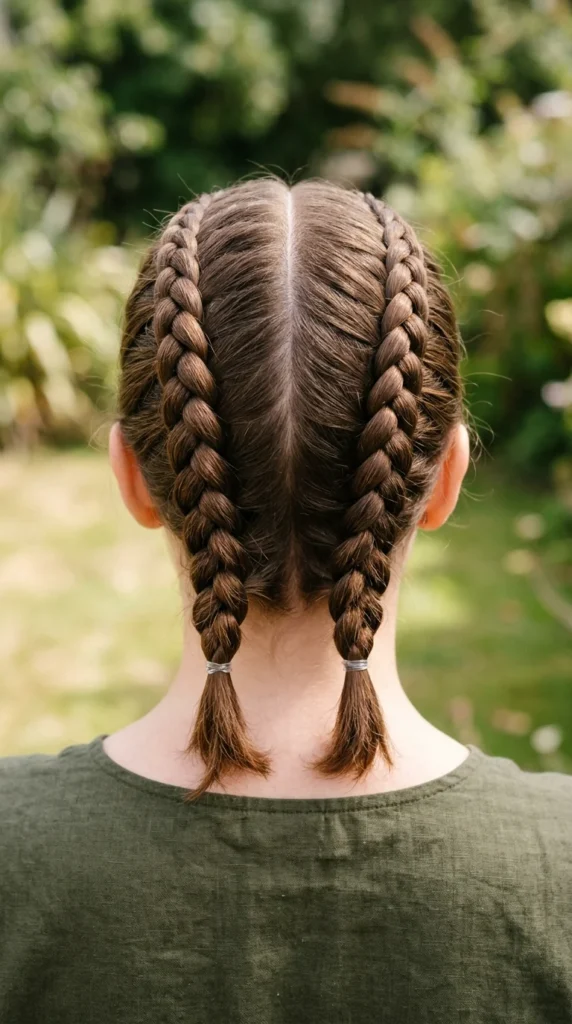
Often called “inside-out” braids, Dutch braids are the sturdier, more defined cousin of the French braid. They are perfect for active kids who spend their lunch break hanging upside down on the monkey bars.
- The Motion: Instead of crossing strands over the middle, you cross them under. This makes the braid pop out in 3D.
- Tightness: Keep your hands close to the scalp as you braid to ensure the style stays tight and neat.
- Longevity: This is a great style to do on damp hair; it will keep the hair controlled all day and result in beautiful waves the next morning.
6. Half-Up Knot
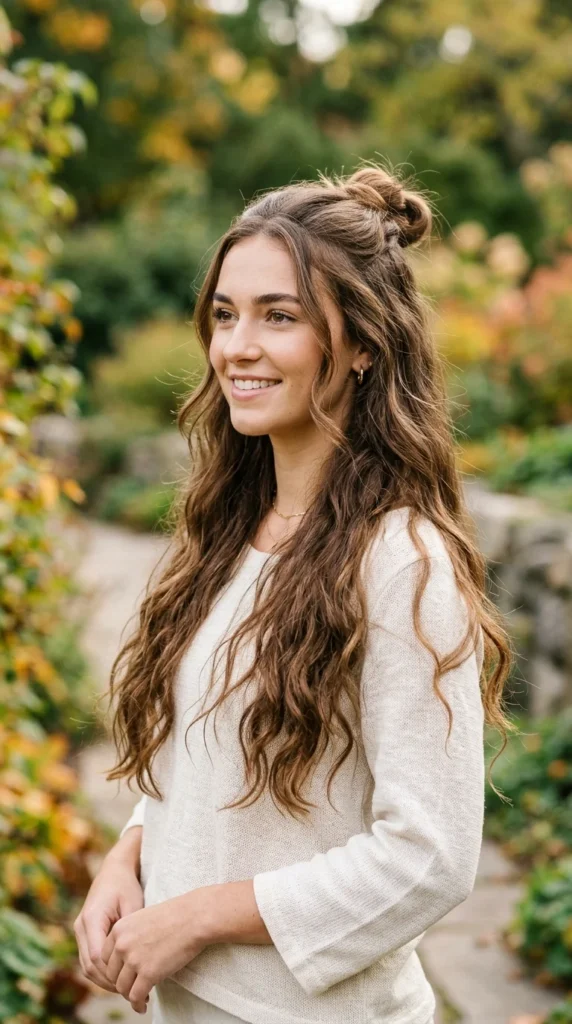
For the days when your child wants to show off their length but needs their hair out of their face for writing and reading, the half-up knot is the perfect compromise.
- Sectioning: Take a section of hair from the temples up to the crown.
- The Knot: Twist this section into a small bun and secure it. It doesn’t have to be perfect; a little “undone” texture adds to the charm.
- Accessories: This style looks great paired with a small clip or a colorful barrette just below the knot.
7. Bubble Braid
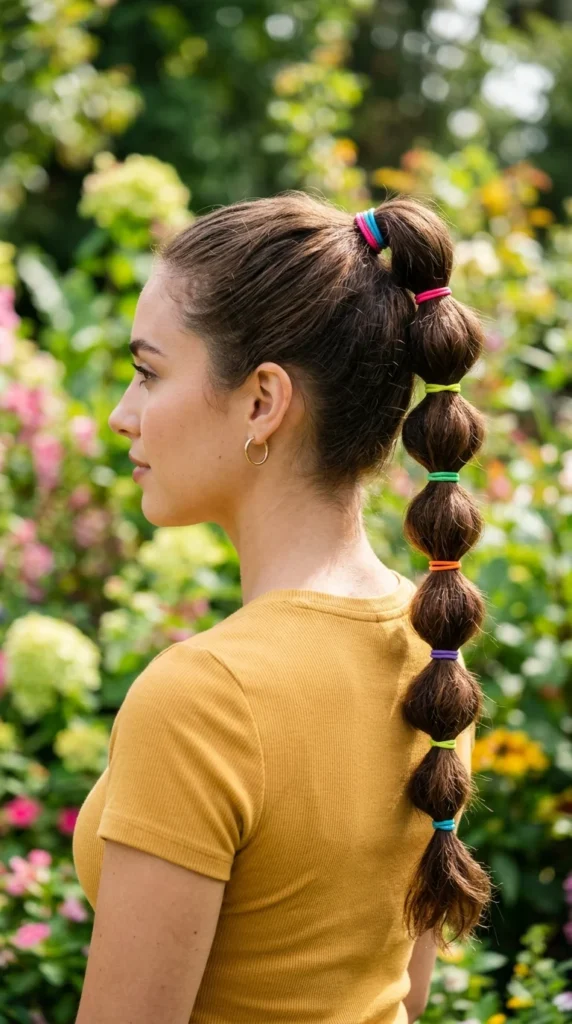
The bubble braid is currently the most requested style in elementary and middle schools. It’s festive, fun, and takes almost zero effort to achieve.
- Foundation: Start with a standard ponytail (high or low).
- The Bubbles: Every two to three inches, place another elastic down the length of the ponytail.
- The Fluff: Use your fingers to gently pull the hair between the elastics outward. This creates the “bubble” effect. Use colorful elastics for a pop of personality.
8. Side Braid
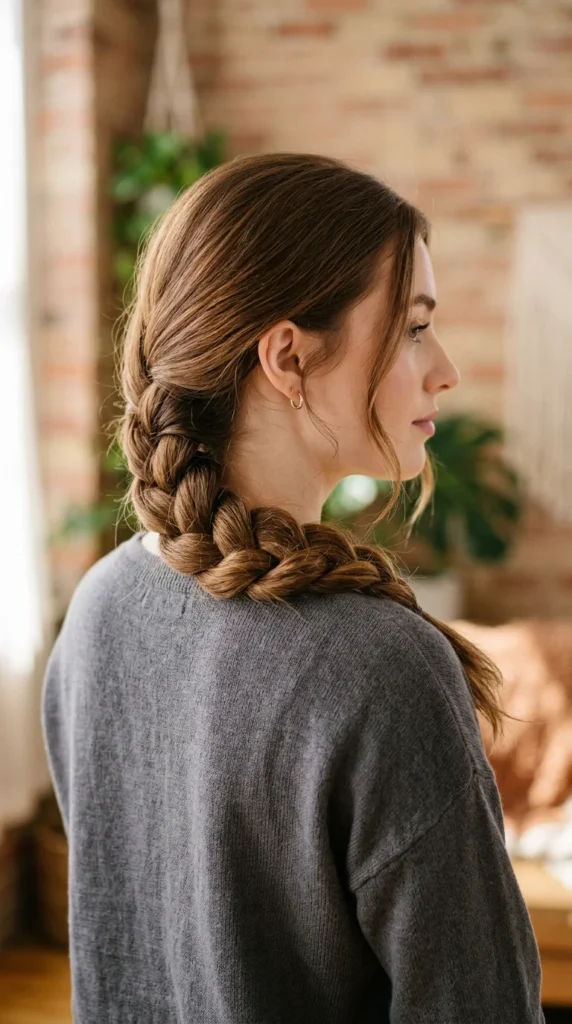
The side braid is the epitome of effortless grace. It’s the perfect solution for “day two” hair or for those mornings when you’ve hit the snooze button one too many times.
- Sweeping: Brush all the hair over to one shoulder.
- Braiding: Begin a standard three-strand braid just below the ear.
- Loosening: Once secured, gently “pancake” the braid by pulling the outer loops slightly. This makes the braid look thicker and more relaxed.
9. Low Bun
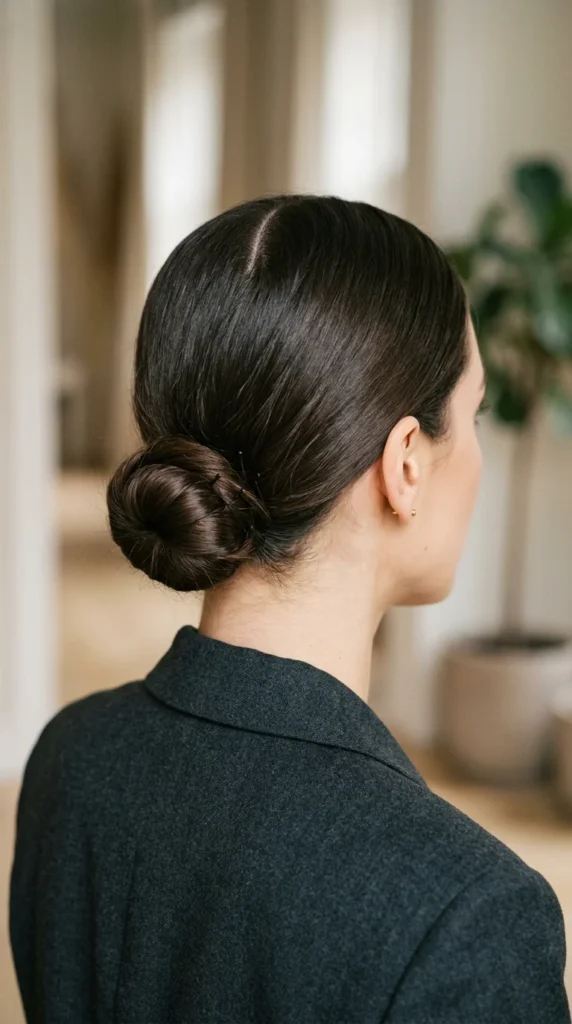
When a special event like “Picture Day” or a school presentation arises, a low bun provides a sophisticated and “put-together” look that takes less than three minutes.
- The Part: A clean center or side part works best for this.
- The Base: Secure hair into a low ponytail at the base of the neck.
- The Coil: Twist the hair and wrap it around the base. Secure with a scrunchie for a soft look or bobby pins for a more formal appearance.
10. Twisted Crown
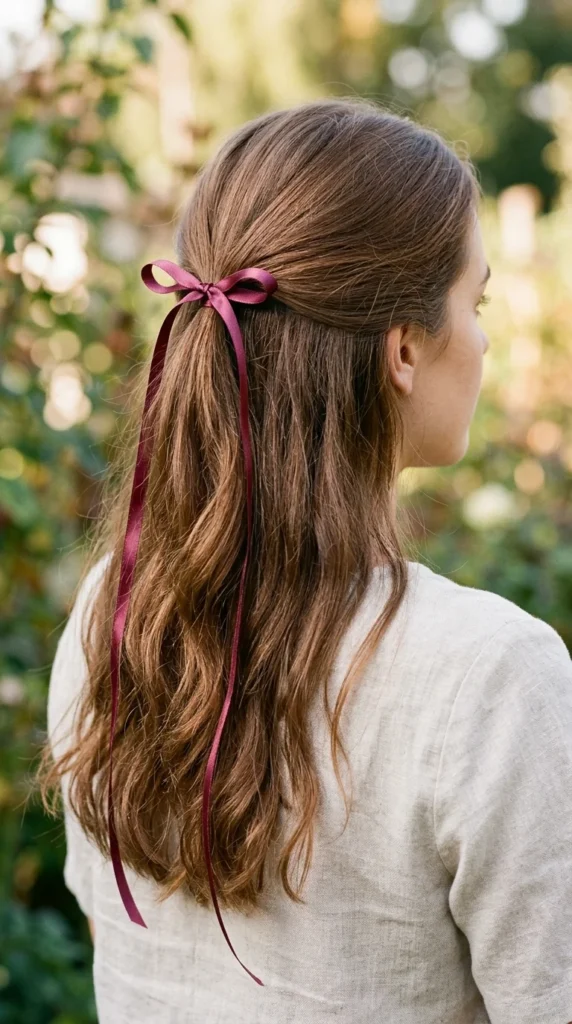
If your child finds braiding painful or annoying, the twisted crown is the answer. It keeps the face clear of hair using a simple twisting motion that even a beginner can master.
- The Twist: Take a small section of hair from one side of the forehead and twist it away from the face, adding a little more hair as you go back.
- The Mirror: Repeat on the other side.
- The Union: Bring both twists to the center-back of the head and secure them with a small elastic or a pretty clip.
11. Scrunchie Pony
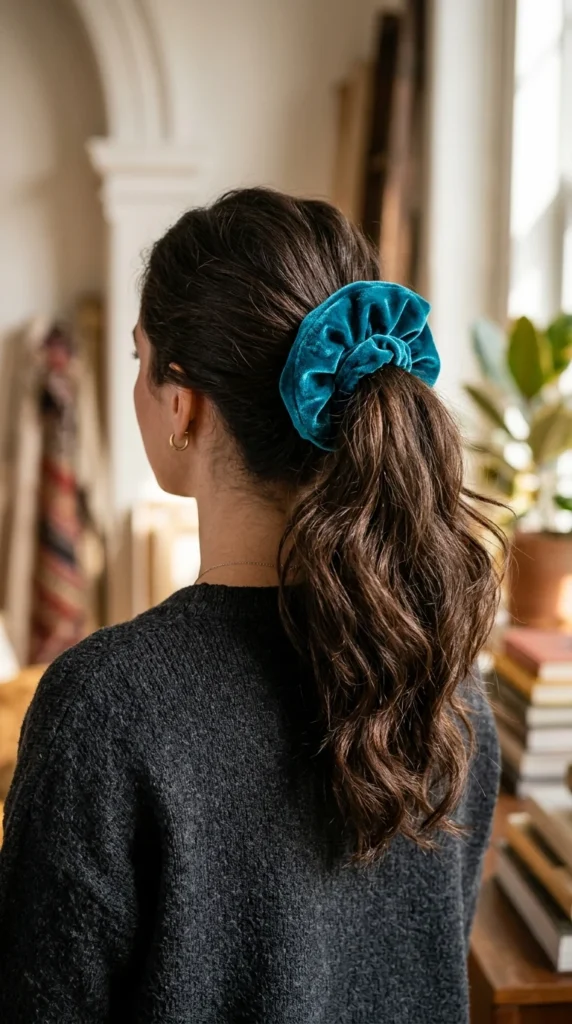
Retro is in, and scrunchies are back in a big way. They are much gentler on the hair than traditional elastics, meaning fewer “ouches” during the morning routine and less breakage over time.
- Easy Mode: Simply pull the hair back and use the scrunchie as the primary fastener.
- Double Secure: If your child has very thick hair, use a clear elastic first to hold the weight, then place the scrunchie over it for the aesthetic.
- Color Match: Let your child pick a scrunchie that matches their outfit to give them a sense of autonomy in their morning routine.
12. Fishtail Accents
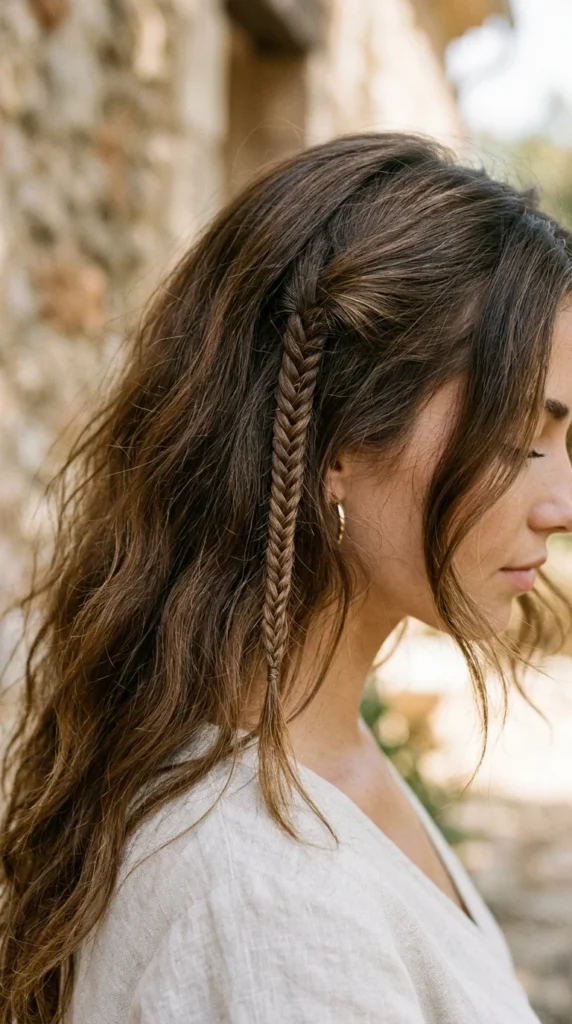
A full fishtail braid can be time-consuming, but a small fishtail accent provides that same intricate, “Pinterest-worthy” vibe in a fraction of the time.
- The Accent: Take a small 1-inch section of hair from near the temple.
- The Technique: Divide the section into two halves. Take a tiny sliver from the outside of the left half and cross it over to the right. Take a tiny sliver from the outside of the right half and cross it over to the left.
- The Integration: Let this small braid hang loose or pin it back with the rest of the hair.
13. Ribbon Tie
Sometimes, the simplest way to transform a “boring” hairstyle into something special is through accessorizing. A simple ribbon can make even a basic ponytail look like it took twenty minutes of effort.
- The Finishing Touch: Tie a ribbon around any of the styles mentioned above—ponytails, buns, or the ends of braids.
- The Bow: For a classic look, tie a traditional bow. For a more modern, “cool” look, simply knot the ribbon once and let the long tails hang down with the hair.
- Texture Choice: Use velvet for winter months, satin for a polished look, or grosgrain for a sturdy, everyday feel.
By incorporating these thirteen styles into your weekly rotation, you’ll save time, reduce morning stress, and send your kids off to school feeling like the best version of themselves. Happy styling!